Showing posts with label linux. Show all posts

23 September 2020

Installing a Brother HL-1222WE printer on Linux (Fedora)

I hoped I left printing and wasting paper behind me long ago, but here the COVID quarantine and online school (my daughter is first grade) forced me to buy a printer.

A bit of market research for a home printer pointed me to Brother HL-1222WE, the main pros were:

  • relatively cheap price for a laser printer with wireless connectivity;
  • cheap consumables, replacement toner cartridges are available (and I uderstand you can even refill them yourself);
  • no chip on the cartridge
  • easy to install on Linux (beforehand I read you need some proprietary drivers from the manufacurer)

So, with the printer in hand I connected it (via USB) to my Fedora desktop. It was recognized and the installation went smoothly click-click-click using the available Open Source drivers. Then tried wirelessly on the laptop, equally smooth. Below are a few screenshots for illustrative purpose:

brother printer linux

To be fair, you can install the same with a few clicks and available drivers on Windows too. Only for the Android phone I installed some app from the manufacturer.

One thing to note: before installed on my Linux machine, the printer was already installed on a Windows PC, so its wireless setup (picking from a list the access point name) was done there. Not sure if the wizard for wireless setup would include that and I am too lazy to reset the settings only to try it now.

Update: If you think you may need the proprietary drivers for stuff like monitoring the toner level, it is not the case, you can use the web interface:

brother printer linux

14 February 2017

Valentine's

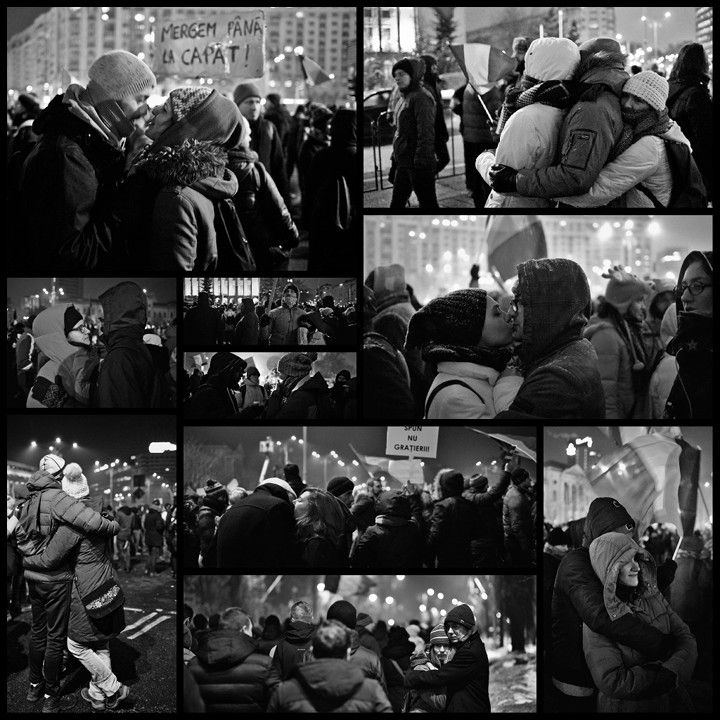
For the Valentine's Day, a thematic selection from my pictures at the on-going protests in Bucharest (the events are covered more in-depth in my photography blog)

valentine

For the curious, the images are processed with darktable, GIMP and now PhotoCollage.

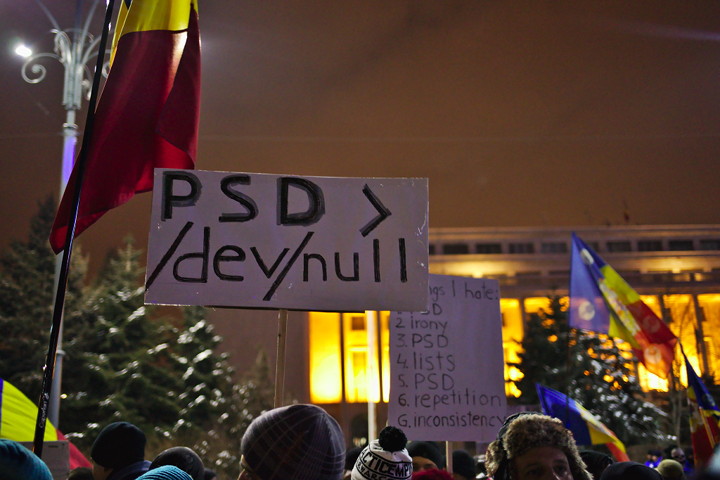
PS: It looks like a bunch of other Linux geeks were there
linux protest

28 June 2016

A F24 user story

Honestly, nothing from the features in the announcement of the Fedora 24 release didn't manage to excite me intro upgrading my desktop from an old, out-of-support Fedora. It's main task is to edit digital photography and for some years a Linux solution is decent at it.

Still, the devil is in the details! I wanted to switch to the (relatively) recent 2.x release of darktable and maybe play a bit with development versions of GIMP. Obscure tasks from a release notes point of view, but a big use case for me. It was a 2 weeks window from the F24 release to the next big incoming project, plenty of time to fix any small annoyances, right?

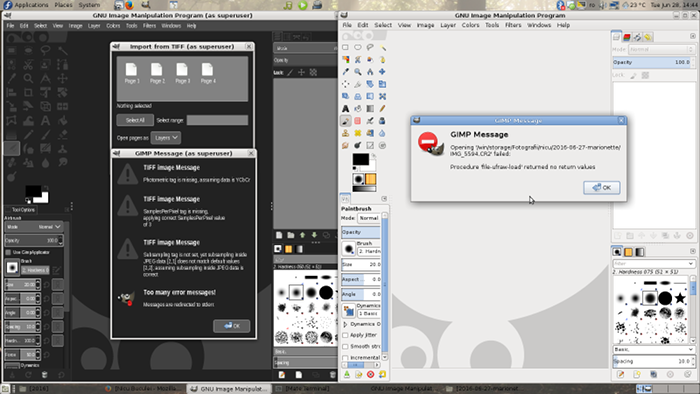
Well, not so fast :) The first thing to notice, was GIMP (2.8.16, stable) being close to useless: it can't import RAW images, due to the import plugin (UFRaw) segfaulting in the process. You can still use the app, but only for JPEG snapshots, not for anything serious.

Of course, there are workarounds: use another app, like darktable (remember, my first reason for the upgrade), for the RAW-to-JPEG conversion and then polish it with GIMP (something which is part of my workflow for some scenarios). Not so fast, again! I wasn't able to discover the cause, but my darktable in Fedora 24 crashes a lot. A lot more than... say Windows 98 (first edition) in a bad day. Anecdote: for one particular photo, it crashed 4 times in a row (open the app -> select image thumbnail -> press the export button). It worked with a Windows 98 "solution": close everything else, try once more.

Another possible workaround: use GIMP devel, which is available via Flatpack (Flatpak is so much talked as a feature, but so much not ready for primetime in F24!). No luck either: that GIMP comes with no plugins and no obvious way to install them. And Damn! the new GIMP is so fugly...

Perhaps in a couple of months it will be smooth, but for now the upgrade don't look like a good investment.

fedora 24

12 October 2015

LIF 2015

For the last couple of years I didn't manage to attend myself the Linux Install Fest traditionally organized by ROSEdu at Politehnica University of Bucharest, which is a shame, since there is a lot of cool stuff going on. But such is life, there are so many things to do and so little time left...

However, I learned a bit from watching the graphs from the official website and the pretty pictures published by the local Ubuntu community.

I couldn't stop myself from playing a bit with the charts data and make my own one. Just don't read too much into it, I don't think it shows personal preferences or such (if you DO have a personal preference, you probably don't need an install fest):

lif 2015

Anyway, I just wanted to say: good work ROSEdu!

03 September 2015

How I organize my photos

Not long ago, there was a talk about how people deal with their photos: organize, edit, archive and such, and I gave then a partial answer. Why partial? Because I follow two slightly different processes, one when the photos are made for fun and the other when they are for work. Since that answer was partial and made behind a walled garden, I feel the need to expand it in a public piece. I don't pretend what I do is perfect, actually I recognize some flaws myself, but I got there after years of improvements and is not final.

As a sidenote, I do use a Linux desktop, MATE under Fedora, and almost exclusively Free Software, GIMP, darktable, ImageMagick, UFRaw, G'MIC, but what I do is pretty generic, can be done with various other tools. I may follow with another piece on using these tools.

Fun is fun

organize photos

When I talk about pictures made for fun, I mean they are not made for a paying customer, period. This can include anything from photos made for exhibitions, snapshots with the daughter, pictures for my blog, for Wikipedia and whatnot. Usually I take them with an older APS-C DSLR, a Canon 600D, but sometime I bring the FF DSLR. For the most part, I try to protect the better camera, but sometime I am lazy and grab whatever is closer or greedy and want prettier pictures.

The first thing to be noted is that for fun pictures, in the large majority of cases I shoot in JPEG. ...yes, I hear the outrage for such a blasphemy, but the truth is, JPEG is good enough for most of those pics, RAW would be a waste of space and time. When I feel the shoot is important or the light is really difficult, I do use RAW, even for fun pictures.

As a matter of discipline and to keep myself in shape, I try to take pictures as often as possible, ideally every day, and as soon as possible I download the pictures in my computer and then erase the memory cards. The camera has to be ready at any moment to take as much pictures as possible.

I do not use any fancy software to organize the pictures, just the file manager and a directory structure. Of course, it helps that the file manager, with the right plugin, can display thumbnails even for RAWs. The photos made in a day go into a folder with a name like YYYY-MM-DD, for example yesterday pics are in the folder 2015-09-02. Sometime, when I want to find the folder easier, I add a keyword, as there I have a 2015-08-14-seaside

organize photos

As soon as the pictures are downloaded, I try to process them - the next day probably others will come and the newest are always the most exciting. So, I enter the folder and delete some pictures: those which are failed or boring. I still don't delete enough (or still take too many), but I'm getting there, improving continuously (space is cheap, some will say). From the too many undeleted pictures left, I copy a few in a working folder, to be edited and then published. Every year I have a new working folder, and when there are more pictures from a certain event (say, more than 10), they go in a subfolder.

Almost exclusively I edit my 'for fun' pictures with GIMP, this is the editing software I feel the most comfortable with and the one that gives me the most control. There are not many pictures, so I can take my time with them. If there are RAWs, GIMP will call UFRaw for the import, and in the rare cases it is needed, G'MIC will provide some advanced filters. For batch operations like mass-resize or mass-watermarking, there is ImageMagick.

Speaking of watermarks, I almost never do it, but there are are a few exceptions, like the pictures which I suspect have the potential to be 'stolen' by newspapers (it happened a few times, even with watermarked pictures). I firmly believe a watermark will destroy the image, so I try to avoid that.

Again, because next day may come with another pictures, I try to publish my photos as soon as possible. Still, I don't want to spam my viewers, so sometimes there is a delay. For the photography blog, I don't post more than 4 items a day, and for photography sites (the likes of 500px) I post only once in a while. Social media is something I still have to work on: I lost a lot of readers (or at least interactions with readers) a couple of years ago, I blame the loss on posting too much and try to work on it. Publishing go hand in hand with license, so almost everything shoot for fun is published under a CC-BY-SA license: free to use, free to modify, free to almost anything.

Of course, there is archiving. From time to time (not on a schedule, mostly when I run out of space) I move the unedited pictures, with their directory structure, from the computer's hard drive to two external drives, in a manual process. The edited pictures stay on the computer for the entire year, maybe even next year. They have copies online and at least the copy on G+ is high quality (do you know Facebook destroys your pictures with aggressive compression and metadata removal?)

Flaws

As I said before, I recognize some flaws. The most important couple of them:

  • I do not have continuous backup, there is one only when pictures are moved to the external drives. What is currently on the computer is at danger of data loss. Still, they are 'for fun' pictures and I am lazy, so the loss won't be huge, only at most a few weeks of 'for fun' pictures;
  • When I am away for a while, in a trip or vacation, I can't properly process the photos, so when returning home a lot of work will pile-up. For a while I will have to process both old and new images.

Work is serious

organize photos

For work, you have to deliver the best result from a technical point of view, so when there is a paying customer I use my full frame DSLR, which happens to be a Canon 6D, a camera recognized for its good low-light performance. As for shooting, the pictures are taken as RAW and JPEG. JPEG is there as a backup, while the RAW is the one to be edited. Here I need 1) to get the most possible from the pictures and 2) deal with low-light situations which happens a lot when doing event photography.

Again, as soon as I get home, I download the pictures from the memory cards. But this time I do not delete the cards, I put them in a closet, to have a backup somewhere until the processing is done. Processing the photos for an event may take up to a few weeks.

I have a different directory hierarchy for the work photos, so I copy there all the files, in a directory named after the specific client or work. If the work was an event, the first thing is to make a quick and small selection (10-20 pictures) which I edit fast and deliver the same day, as a preview. The idea is for the client to have something really fast, and if he wants to post pictures on social media while it's hot, he can post pictures from me, not some crappy phone-made images.

Then I parse the files with the file manager and its native image viewer, deleting only very few, and make a selection with images to be edited and delivered. From this selection I copy all the RAWs in a different, working folder.

organize photos

Considering the large amount of images (for a wedding it can be around 1000 pictures), editing with GIMP would be a poor option, so I use darktable instead. After a few days or weeks, depending of the size of the work, images are exported with darktable at a resolution good for large prints. Then for some images that I think need more advanced editing, I open and process them further with GIMP.

After that, I deliver to the client the images, in two sets: one at big, printable, resolution, and another resized for web use. Of course, there is no watermark in sight, the client paid for the images, they are not to be tainted in any way.

If the job requires it, then I start working on the printed album. Here the work is done with GIMP ...blasphemy I hear again? Why not use Scribus? Simple: the print shop requires sRGB JPEGs, and they do a very nice job with that. When there is to be made an engraving on the album's leather cover, I prepare it with Inkscape and save in a vector format (PDF/EPS).

Only after the printed album was delivered to the client I can consider the job done. Then I move the files (sources, edits, album pages) to the two external drives and erase the memory cards.

Of course, somewhere during this process, when I get the time, a few pictures are added to my online portfolios. I have to advertise myself, right? This time, as the images are made for the client, the license can't be a free one. Sorry for that, I wish clients open to free licenses, I would offer a discount for that.

Flaws

  • Since there is a lot of time from when the pictures are taken and until I get them in the backup system, for a while the memory cards are the backup. I could probably change that and save them faster;
  • I still have a lot of work to do with promotion.

organize photos

02 September 2015

The summer is over, the wallpapers are not

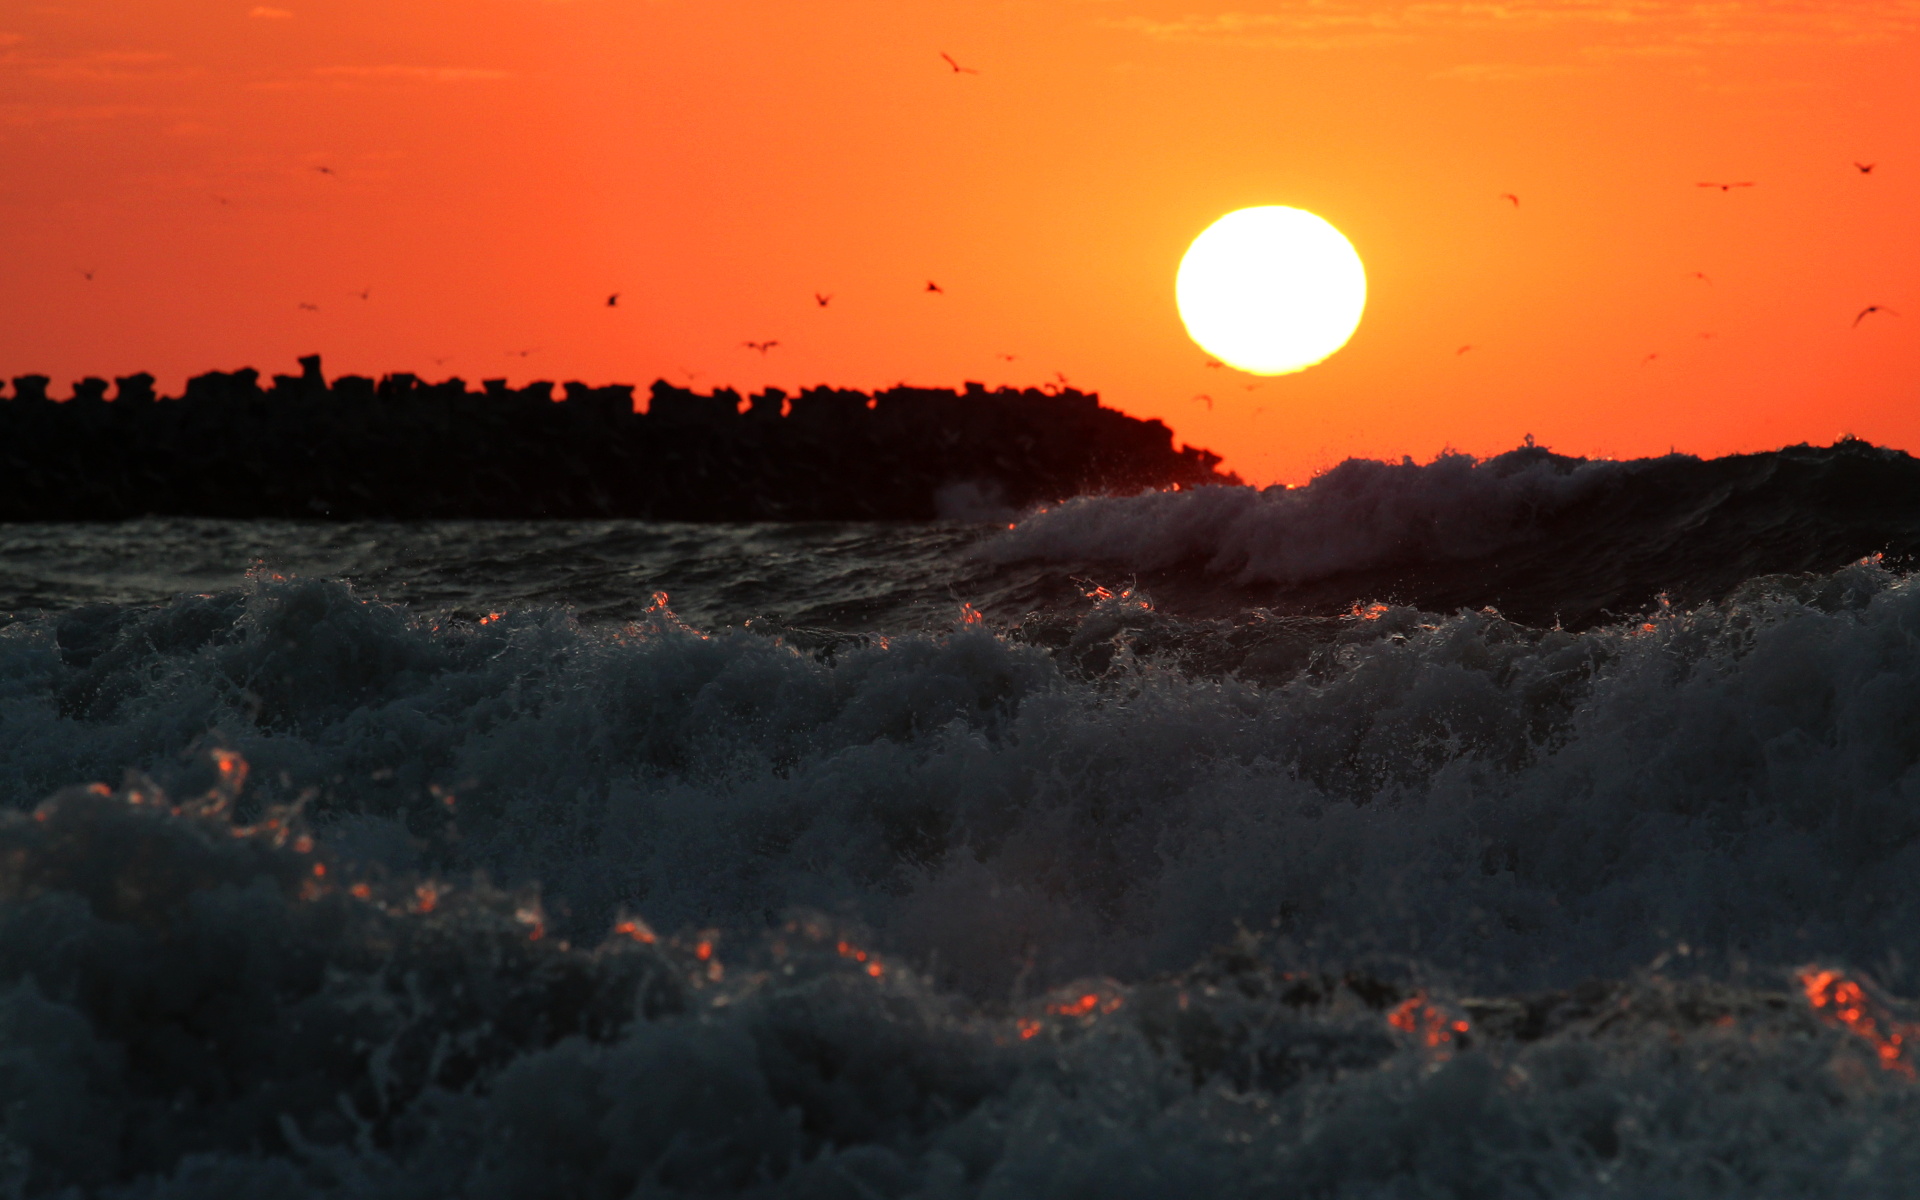
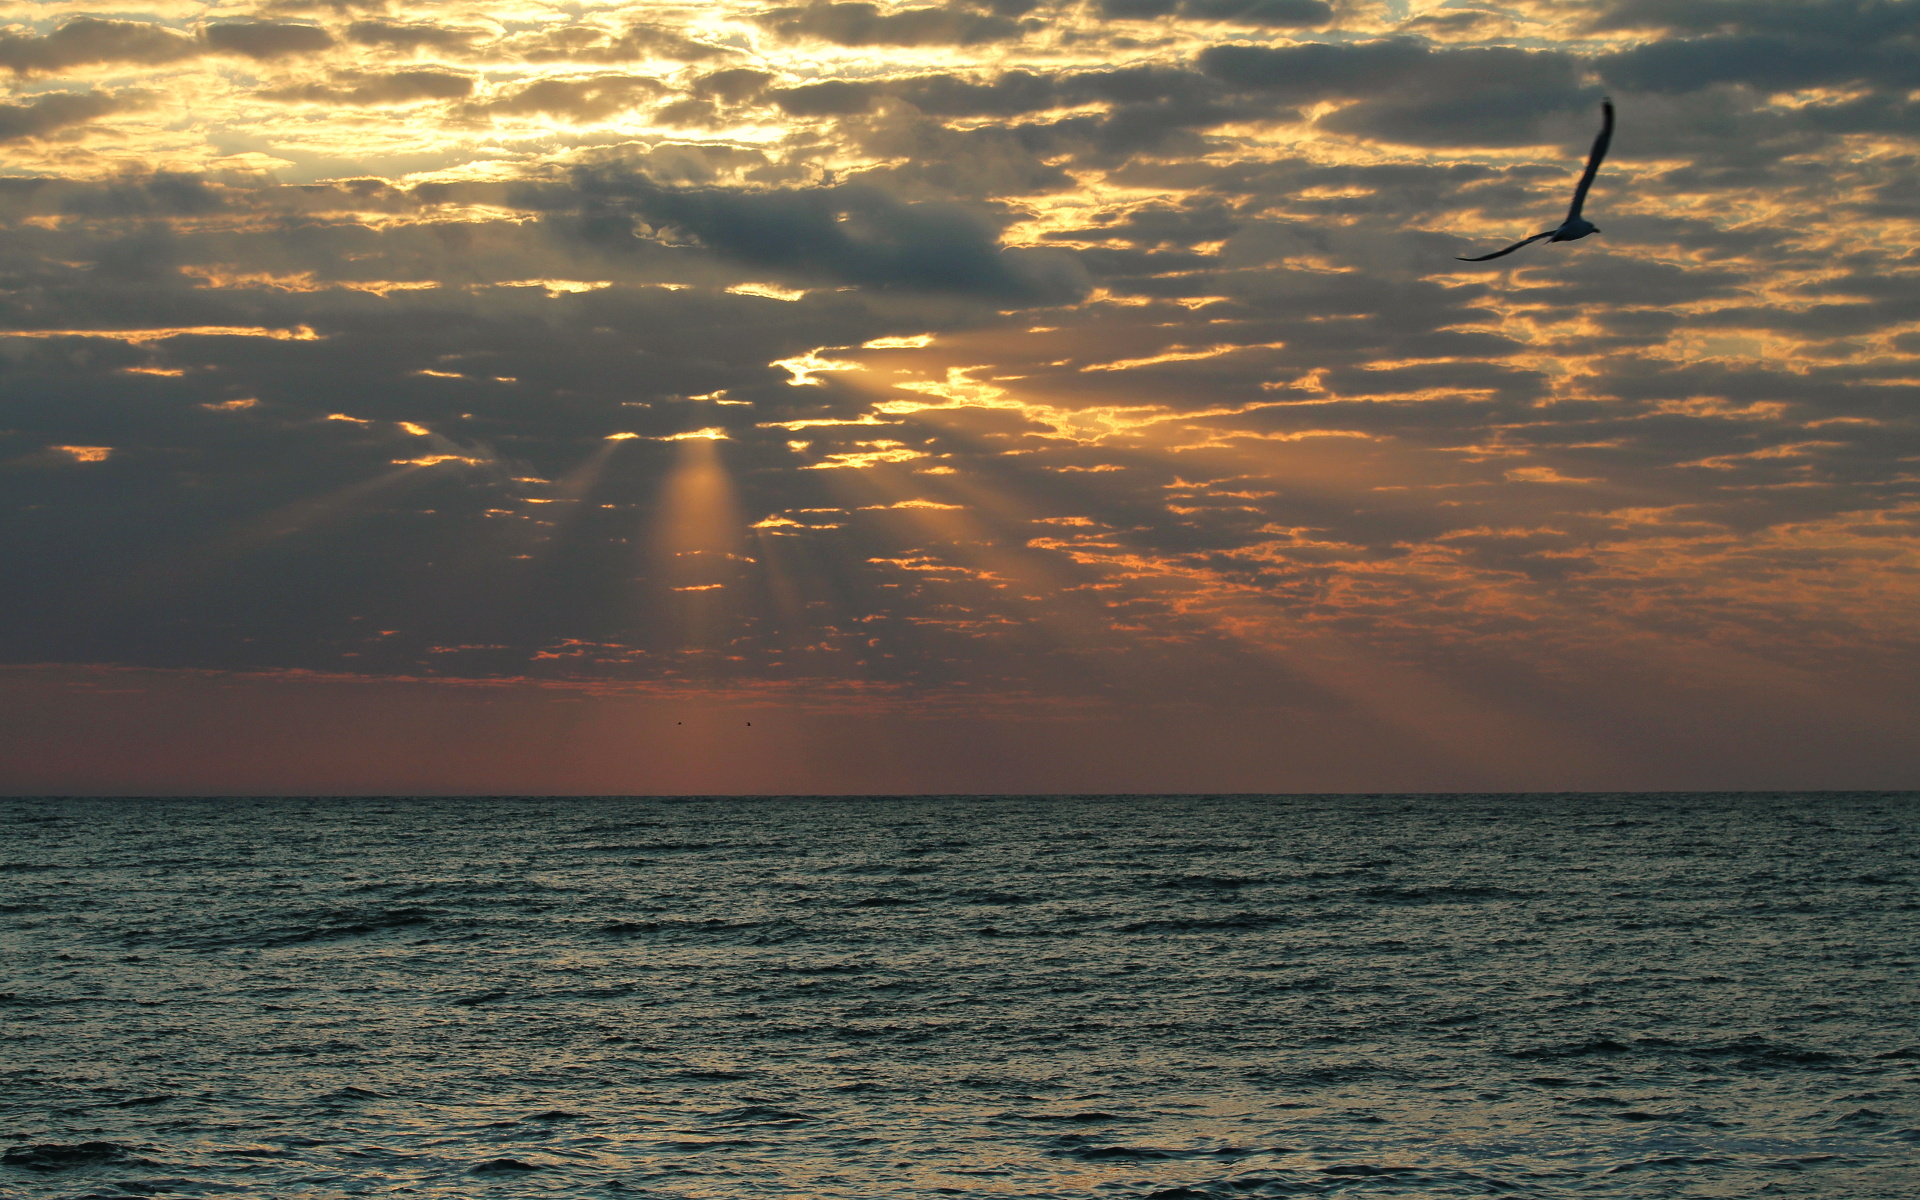
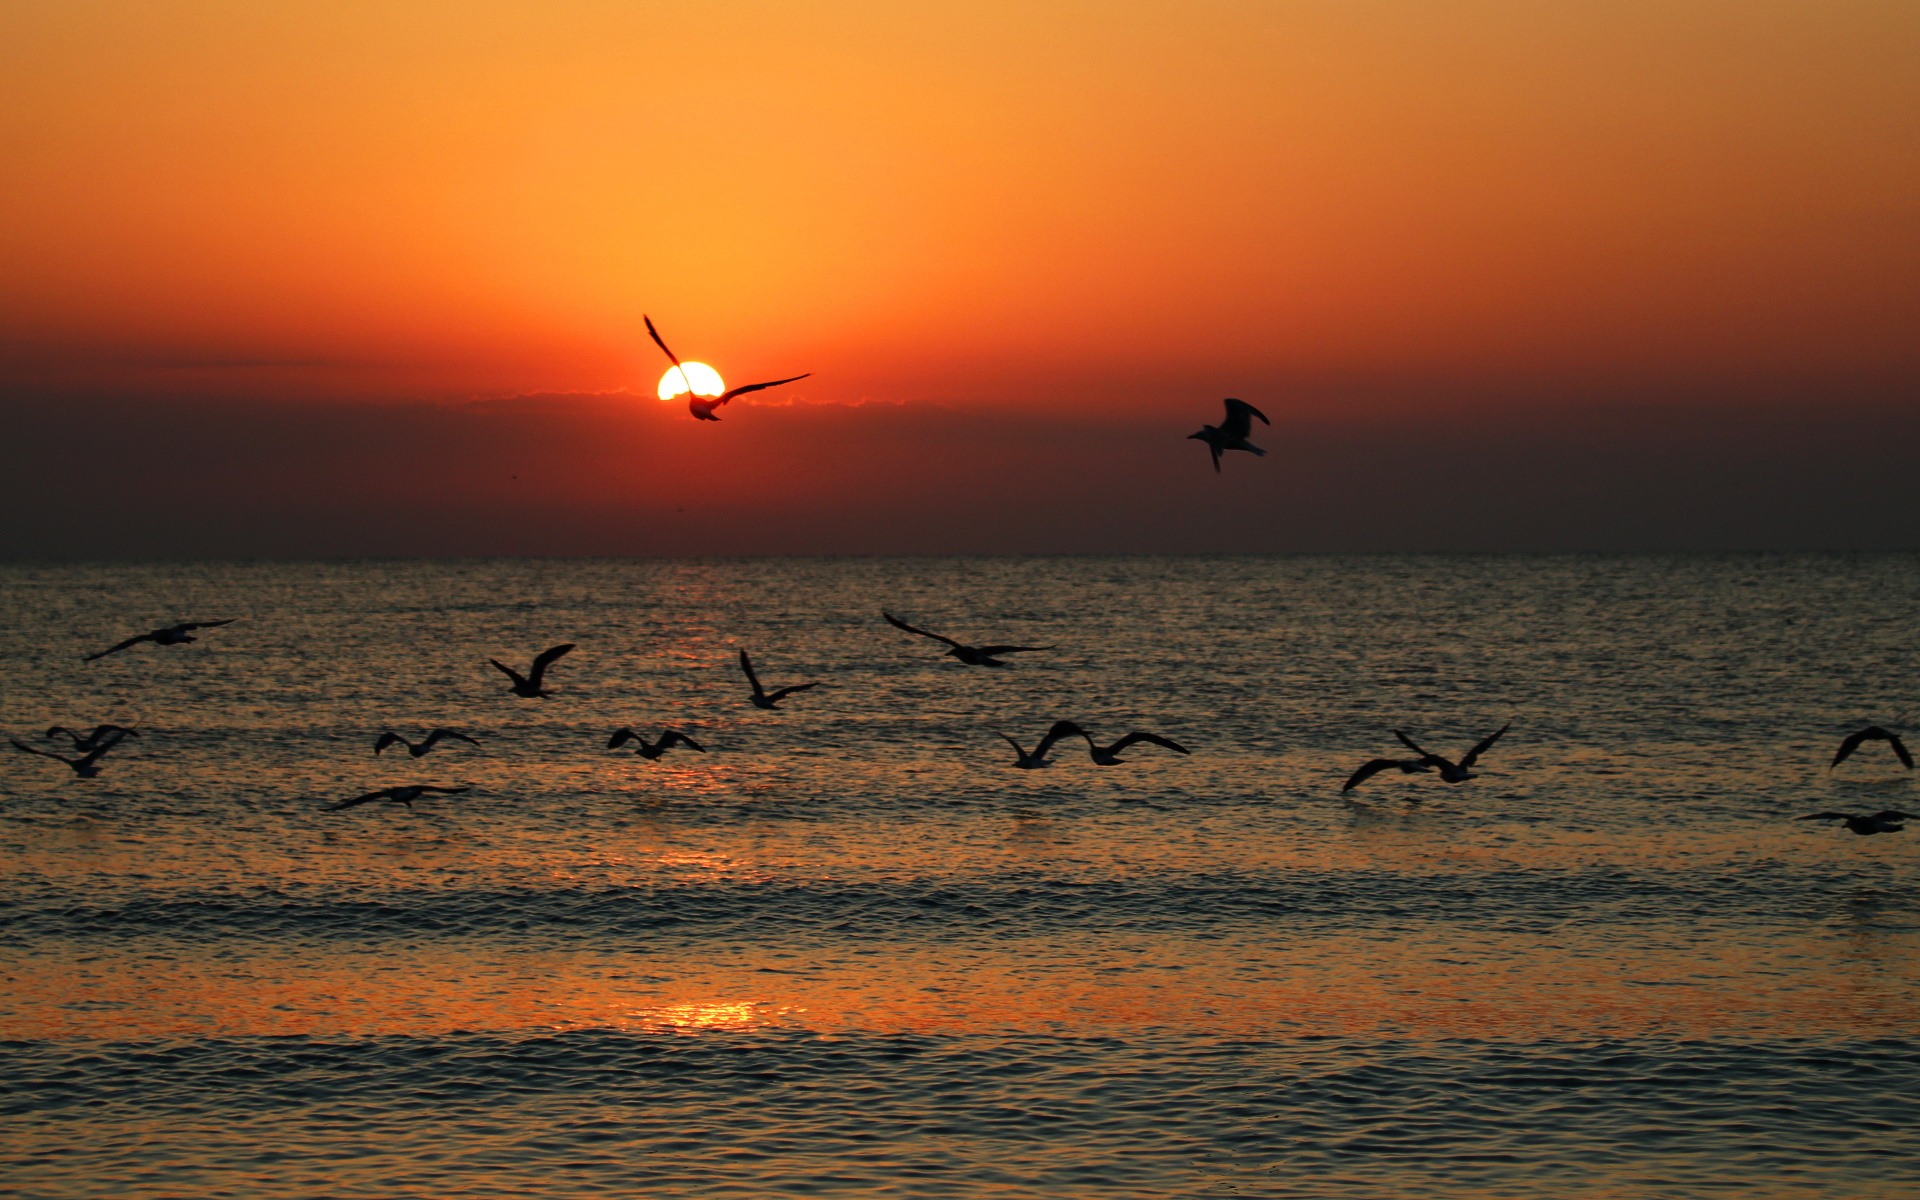
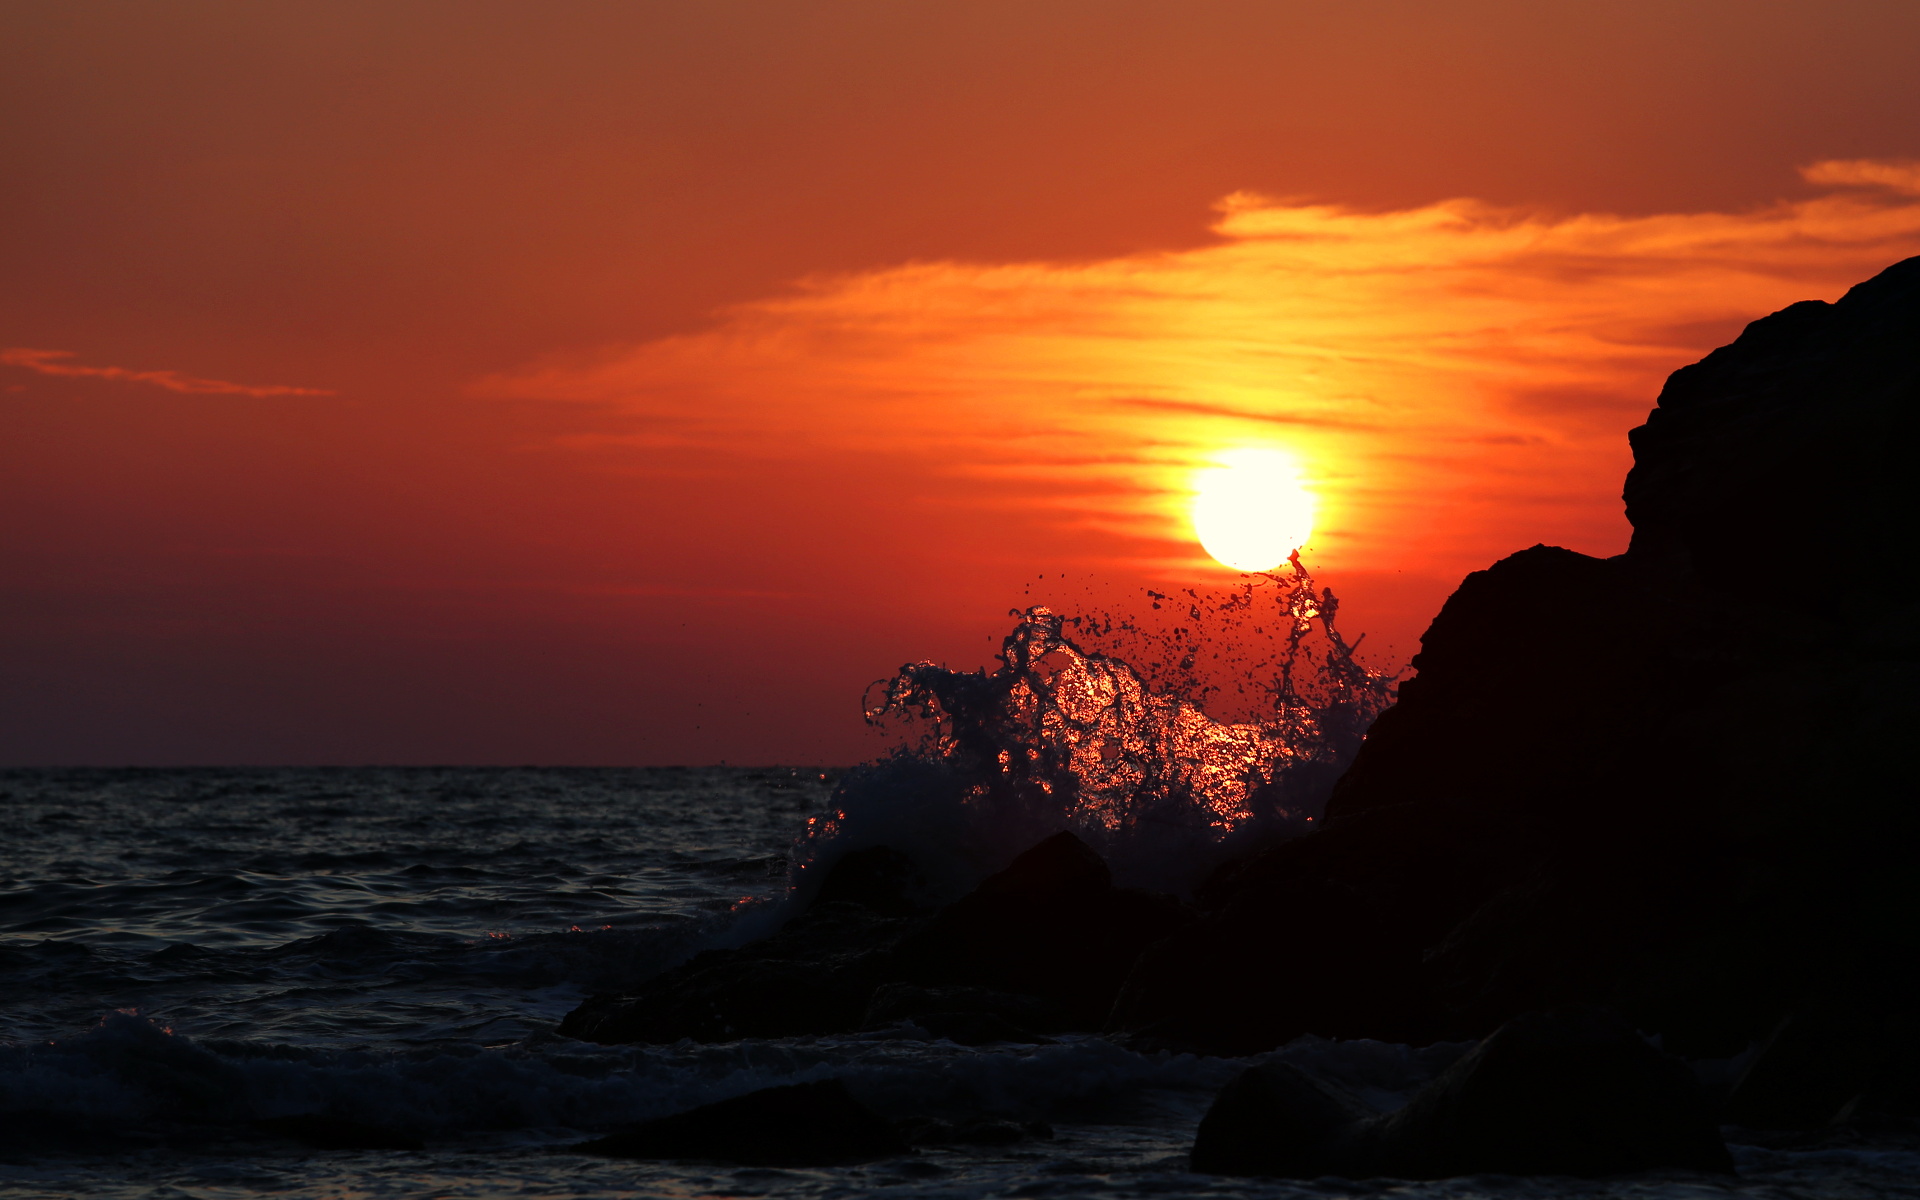
I know that after the calendar the sun is over, but looking outside, it looks and feels like the middle of the summer. And the truth is, for the last month I was all the time on the road, so even if the pictures are taken a while ago, only now I got the opportunity to edit them as desktop wallpapers for a blog post. If you like any of them, feel free to use (CC-BY-SA).

sea wallpaper
sea wallpaper
sea wallpaper
sea wallpaper
sea wallpaper

11 February 2015

Kdenlive video formats export

A few years ago I used to regularly publish videos, so back then I started with an evaluation of FOSS video editors available for Fedora. At the time I decided the "winner" to be Kdenlive (at the time PiTiVi was useless, OpenShot unavailable and Blender unknown for its video editing capabilities), despite all the drawbacks of its KDE interface and sudden crashes.

Fast-forward, about a year ago, I needed again some video editing, this time for a home project. Not wanting to deal with KDE again (I don't want to flame KDE, I just find a GTK2 interface more friendly to use and GTK apps integrate better in my desktop), I tried OpenShot and it worked good enough.

Fast-forward again to current times, after upgrading my desktop to Fedora 21 (from F18, no less!) I needed again a video editing task, I fired-up OpenShot but it refused to cooperate (something related to creating a video clip from a sequence of images, something I used it for before), so back to the old friend Kdenlive again.

Yes, Kdenlive can do the work just fine, it just had an unintuitive UI annoyance that had me searching the web to learn where to find a simple option (I was not seeing a tree for the forest). You open the render window and there are not many formats to pick from besides MP4, MPEG-2 and Matroska. Where are the others? Not gone, but hidden behind a "Destination" drop-down.

kdenlive video formats export

I can see why they decided to split the list in smaller sections, it can be quite long, however 1: I didn't see the drop-down and surely many others don't and 2: categories are totally arbitrary: MKV is a file, AVI a media player and WebM a website? Why? Fortunately, you can add them as Favorites or learn their place quite fast (unfortunately,after you close the app and open it again, it will default again to File rendering instead of Favorites)

kdenlive video formats export

Some other issue that made me lose a lot of time is related to video quality. At first I created a video with the default format, which is MP4 with H.264, which from what I tried later is the thest regarding file size / image quality (didn't try WebM, it isn't useful for my client here, who is the type of person using Internet Explorer on Windows 8, so it has to work OOTB). Then I tried to find a set of settings for MPEG2 or AVI/XVid close to it. No luck! By trial and error (which means rendering the video again and again) I settled for one while the file size is not that large (only ~2.5X time larger) and image quality not absolutely horrible (note: my personal projects always default to WebM).

kdenlive video formats export

20 November 2014

Shooting yourself in the foot, part 53326: Mozilla

Step 1: with bad design decisions one after another (Australis is a shining example of that) slide yourself into irrelevance;
Step 2: when market share goes below some threshold, the main sponsor diminishes (or suspend?) payments;
Step 3: in retaliation, hurt the users by forcing om them a sub-par alternative as a default;
Step 4: profit bleed even more angry users and go even faster into irrelevance.

Brilliant strategy Mozilla!

Myself, I am still using Firefox for the time being, but that's exclusively due to Gecko.

30 April 2014

Pop Art

Recently I took a very colorful and quite abstract picture, which I thought would make for an interesting 'pop art' effect. The process is really basic and obvious, but I decided to share it for anyone who want to learn a quickie.

pop art gimp

So, I opened the image with GIMP. Since I want the final collage as a 4x4 composition, increase the Canvas Size to 200% on both directions.

pop art gimp

Then Duplicate the image layer.

pop art gimp

Repeat the duplication until there are enough pieces to cover the image. I need 3 duplicates, for a total of 4 pieces.

pop art gimp

Select each piece and with the Alignment Tool move them to cover the image (one right, one bottom, one right and bottom).

pop art gimp

Now the aligned pieces should fill the entire image.

pop art gimp

Leave one layer as is (if you really want, you can edit it too) and for the second open the Hue-Saturation dialog.

pop art gimp

Move the Hue slider left or right until you are happy with the new color set.

pop art gimp

Repeat for the other layers until you have something like this:

pop art gimp

Export and you are done:

pop art gimp

Here's a different use case for a similar effect: I had a single background for the water drop photos, but adjusting the Hue made it appear the pictures are more different than in reality.

pop art gimp

PS: as someone told me, I should print this at some big size and try to sell my 'pop art' creation for a ginormous amount of money.

Firefox 29

firefox 29
Probably everybody already heard there is a new Firefox release and it changes many things and already has an opinion about it. Unfortunately I don't have the audience to gather a significant sample, but if anyone runs such a poll, I would be genuinely interested.

Which Firefox user interface do you prefer?
  1. Firefox 29 (the latest, just released)
  2. Firefox 4-28 (still on long term support)
  3. Firefox pre-4 (before the "keyhole")
  4. Seamonkey (the suite)
  5. I don't care (as long at it open web pages)
Of course i am coming here from an angle: I prefer the apps on my desktop to be consistent with each other, as layout, structure, widgets placement, shortcuts, behavior( I was happy the old Firefox never got the "keyhole" on Linux.) Still, not enough to move to something like Midori , where the look and feel is totally native but the set of features smaller.

22 April 2014

Pseudo-HDR editing

Usually I don't edit much my landscape photos, not because I don't know how but I prefer them this way. Still, recently I felt the need for some more advanced processing for a picture, it enjoyed some success so I decided to share the process. The tools used were UFRaw (in the form of the GIMP plugin), Luminance HDR and, of course, GIMP.

I passed by this scene in the nearby park at the "golden hour" and it looked photogenic, but I wanted to make it more dramatic. One can increase the drama in a landscape photo by using a HDR treatment, but not having the tripod with me (for a proper HDR image you need at least 3 images with exactly the same scene but different exposures) I decided to go for pseudo-HDR. For this, I set the camera recording mode to RAW.

pseudo hdr

Note: the real purpose of a HDR image is to have details both in the shadows and in the highlights, beyond what the camera sensor can record, the improved drama is a side effect.

The RAW image was imported in GIMP via the UFRaw plugin 3 times: with normal, -1 and +1 exposure. If you really want, you can try doing the same starting from a single JPEG an simulate the exposure bracketing with color levels/curves, but I wouldn't advise: if from a RAW you can recover some lost image details, in JPEG they are gone forever.

pseudo hdr

The result is 3 JPEG images, one under-exposed, one exposed properly and the other over-exposed, which are to be combined in a HDR. For more drama, you can bracket with more than one step.

pseudo hdr

I imported the JPEGs to Luminance HDR and set their exposures manually to -1, 0 and +1 (or whatever values you used for RAW development). Then just press "Next" a few times, there is no need to adjust parameters, nor align the images (they were obtained from the same source).

pseudo hdr

Now we have a High Dynamic Range image, which can't be used or viewed as-is on a normal computer display, it has to be converted back to Low Dynamic Range, but optimized for what do we want from it (details in shadows and/or highlights, drama, whatever).

pseudo hdr

Time to pick one of the presets in the right column, one you think is the best for your case.

pseudo hdr

Then I adjusted the color levels a bit (if you prefer, the levels can be adjusted later with GIMP or any other image editing app).

pseudo hdr

Now the image can be exported as a JPEG benefiting from the HDR/pseudo-HDR treatment. You can leave it as-is if you like.

pseudo hdr

However, I opened it again with GIMP for more refinement: sharpening and color curves adjustment, to make the colors warmer. This is my end result.

pseudo hdr

10 April 2014

A license to print money

We learned (link in Romanian) the Romanian government is negotiating with Microsoft for a Windows XP support extension in the public administration. This is the free market at work and there may be solid arguments for doing so (yes, I would prefer my tax money to be spent on Free and Open Source Software instead of making business with a convicted monopolist, but realistically I don't expect this to happen in the foreseeable future).
My source of amazement is: once the patches and the delivery infrastructure are set for the first government (UK), then the costs for adding any subsequent government is approaching zero: computers in Romanian administration usually have Windows installed in English, so there is nothing to translate, the infrastructure to deliver patches is there and the network costs are the same or lower (presumably patches fro XP are smaller in size as patches for Windows 7).
Apparently ending support for XP makes a lot of business sense for Microsoft, they suddenly started receiving important sums of money for things they did only a week ago for free. Who would refuse that?

18 March 2014

DPI and photography

There is a good understanding of DPI among hardware geeks (they may boast about how superior is tablet X due to a higher DPI display), still I am surprised to see how many people from the photography world do not understand this (sometime don't want to learn, on the "is technical stuff, I am an artist and not care about technical details") to the point it becomes ridiculous, so I will try to explain it with simple words, in case someone will pay attention.

DPI stands for "Dots Per Inch" and is a characteristic of a hardware device (for example a computer/tablet/phone display). It says how many pixels are in one inch (1 inch = 2.54 cm). Example: the computer I use to write this piece has a 38 cm wide display, which is 38 cm / 2.54 ~= 15 inches. Considering the horizontal resolution is 1600 pixels, then it has a resolution of 1600 pixels / 15 = 106.67 DPI. Of course, the higher the DPI value, the better looking the image will be on your display, as it will enable to to see finer details.

dpi screen
In digital photography the situation is different: your photo is a file and it can be put on a wide range of displays. The DPI value is not as important as the actual image resolution in pixels, it is actually metadata. Actually the correct term when talking about photos is PPI, standing for "Points Per Inch", but PPI and DPI are close enough, is not a huge problem if you interchange them. PPI is relevant when you print the image, is the density of color points to be printed by a inch. The math is similar and having a target print size and print image quality (PPI), it will help determine the needed pixel resolution. Example: you want to print a 15 x 10 cm image at good quality (300 PPI). On the horizontal 15 cm / 2.54 = 5.9 inch, then 5.9 inch * 300 PPI = 1770 pixels. On the vertical, 10 cm / 2.54 = 3.96 inch, then 3.95 inch * 300 PPI = 1182 pixels. In conclusion, you will need a 1770 x 1182 pixels image. 1800 x 1200 is close enough and easy to remember, so a 1800 x 1200 image will print at good quality at 15 x 10 cm.
dpi print
JPEG is the file format we use day to day to exchange photos and it has the ability to store a DPI value somewhere inside its metadata, but is only metadata: an indication at which size (in cm or inches) to print the file. But you can print the same file at any dimension or any DPI/PPI value (of course, with the respective image quality consequence). Changing this value won't modify in any way the look and work of your digital file.

Now, what is a good DPI value for your print? This depends on its intended use, of course :) A 300 DPI is considered good enough for a quality print, like those in the glossy magazines, where you look closely and expect to see fine details. When printing a poster which will be seen from a couple of meters, you can lower the DPI value at 100 and for a billboard to be seen from tens of meters, you can go way lower: it does not mater the printed points are huge when looking closely, nobody will do that.

Now another practical example to illustrate the ridiculous part and how to deal with it. For a recent photo exhibition (it is still on display), the requirements were "100x66 cm at 240 DPI". This is ridiculous: 100 cm / 2.54 = 39.4 inch, 39.4 inch * 240 DPI = 9456 pixels and 66 cm / 2.54 = 26 inch, 26 inch * 240 DPI = 6240 pixels, so to satisfy it you need a 9456 x 6240 photo, which means 9456 * 6240 = 59005440 - you need a 60 Megapixel camera to produce it. Nobody in the target group for that expo has access to such a camera. What to do?

Knowing the people, I can safely say most of them just ignored a requirement they don't understand, and even if they understand can't follow. Still, some tried their best and this is the right thing to do, consider other exhibitions have sane requirements you can, and then should, follow, like the one asking for 1400 x 933 at 96 DPI.

The most obvious thing to do is to resize your image to achieve the needed resolution in both pixels and DPI (GIMP example below). This is sensible thing to do when you scale down the image, as in the 15 x 10 cm case, (reduce the pixel resolution count) and you can optimize interpolation method and post process your image. However, when it would need to scale up, as in the 100 x 66 cm case, is not only a waste of resources and time, extrapolation will lower the image quality so the result will be worse than printed at a low DPI value.
dpi print
What I do in such cases (and I got my images accepted in quite a few exhibitions) is to give the image at the largest pixel resolution I have available and then set the metadata DPI value for the desired target in centimeters, even if lower than the requirement. Is going to be the best print I can anyway.
dpi print
Most of the photos you will encounter have a value of 72 DPI, this is because that is the value assigned by default by the camera for historical reasons: it was the common resolution for computer displays when digital cameras were introduced to the market, at the time we used 14"-15" CRT monitors. I am not sure I can change it inside my Canon, but it does not matter: most of my photos are to be shown on a computer display and I can change the value (as shown above) when editing for a special print.

Of course, as I told above is specific to photography. For illustration/vector graphics is a different matter, we may talk about at another time if there will be enough interest.

08 January 2014

On Red Hat and CentOS joining forces

Red Hat and CentOS joining forces is a really smart move and it potentially is a win-win scenario for all parties involved: Red Hat, CentOS, community, end-users, FOSS. I won't enter into details, since a lot of people are talking about this already.

However, what baffles me is how little people understand the reasoning. So many comments frame it in the old context: a lot of projects need a no-cost Linux solution, and if they can't use a Red Hat derivative, they will use a Debian flavour and later when money will get involved, they will buy support from Canonical instead of Red Hat. Yes, this is a solid reason, but is the old reason. What we see now is something else.

The real reason for Red Hat embracing CentOS now is written plainly everywhere, from the press release "Red Hat is once again extending its leadership in open source innovation by helping to establish a platform well-suited to the needs of open source developers that integrate technologies in and around the operating system" to the FAQ "Red Hat is taking an active role in the CentOS Project to accelerate the development and broaden the reach of projects such as OpenStack by expanding our base."

These days Red Hat is selling not only the established Red Hat Enterprise Linux, but quoting from the same press release, things like "OpenStack, RDO, Gluster, OpenShift Origin, and oVirt" solutions. Compared with Linux, those technologies have so far less traction but comparable potential. Having CentOS as a strong player and supporting all those technologies will make them more popular and increase the chances for a later sale of more than RHEL.

Everything mentioned above is Free Software, so it can be a win-win for all of us. Of course, there are dangers (GNOME 3, I'm looking at you!) but there are safeguars: if the srpms will be easier to get, projects like Scientific Linux will have the life easier too.

29 December 2013

Anaglyph

Disclaimer: to properly read the following article, you need to have a pair of red-cyan 3D glasses, otherwise the images won't display as intended. The cheapest one should do it, perhaps even home made. Lacking such glasses, you can generate your own 3D images for different types of glasses.

A few weeks ago I stumbled upon an old article about how James Cameron is/was remaking Titanic in 3D and somewhere in the technical explanation it was mentioned you can do 2D to 3D conversion with Free Software tools, namely the G'MIC plugin for GIMP.

In the late '90ies I received a computer magazine which came with a pair of paper 3D glasses and a CD containing the usual software demos AND a few 3D pictures, it was my first contact with anaglyphs. I still have the glasses, but I use them maybe once every few years, when I remember to search some such images.

Along the time I learned how to properly make such images: two cameras, filters, combine the two images in one. Way too much effort for me. It looks like way too much effort even for some commercial filmmakers...

When I saw the Titanic article, I said to myself 'what the heck, let give G'MIC a try'. AFAIK it is not available in any official Fedora repo, but you can download a binary from the upstream, drop it in the proper folder and go with it. It will survive even a distro update/reinstall. Not a big fan of the 'application inside another application' approach of G'MIC, nor of its duplication of existing GIMP features, that's why didn't have it already installed, but playing is fun.

anaglyph

I don't have the time and patience to learn how to fine-tune the parameters (with hand crafted depth maps you should be able to reach high quality results), nor do I plan to return to anaglyphs any time soon, so I used pretty much the automatic settings. Below are a few pictures I think came decently with no fiddling and automatic settings:
anaglyph

anaglyph

anaglyph

anaglyph

anaglyph

anaglyph

anaglyph