28 October 2013

Romanian winners for Wiki Loves Monuments 2013

After the jury did its work, we announced the winners for the national Wiki Loves Monuments contest in Romania. The top 10 images will go in the international contest, along with winning images from the other 52 participating countries. Best of luck there!

Cetatea Rupea, judetul Brasov Castelul Corvinestilor - vedere median-frontala de pe podul de acces Alba Iulia - Catedrala Incoronarii si Catedrala Sfantul Mihail Sarmizegetusa Regia - Sanctuarul mare circular. (Zona sacra) Arhiepiscopiei Romanului și Bacăului. Cetatea Enisala Panorama Sarmizegetusa Regia panorama Incina sacra Biserica evanghelică fortificată sat IACOBENI; comuna IACOBENI Castelul Corvinestilor - vedere lateral stanga frontala de langa podul de acces Casa Artelor (fosta Hala a Macelarilor), Sibiu

24 October 2013

Autumn wallpapers

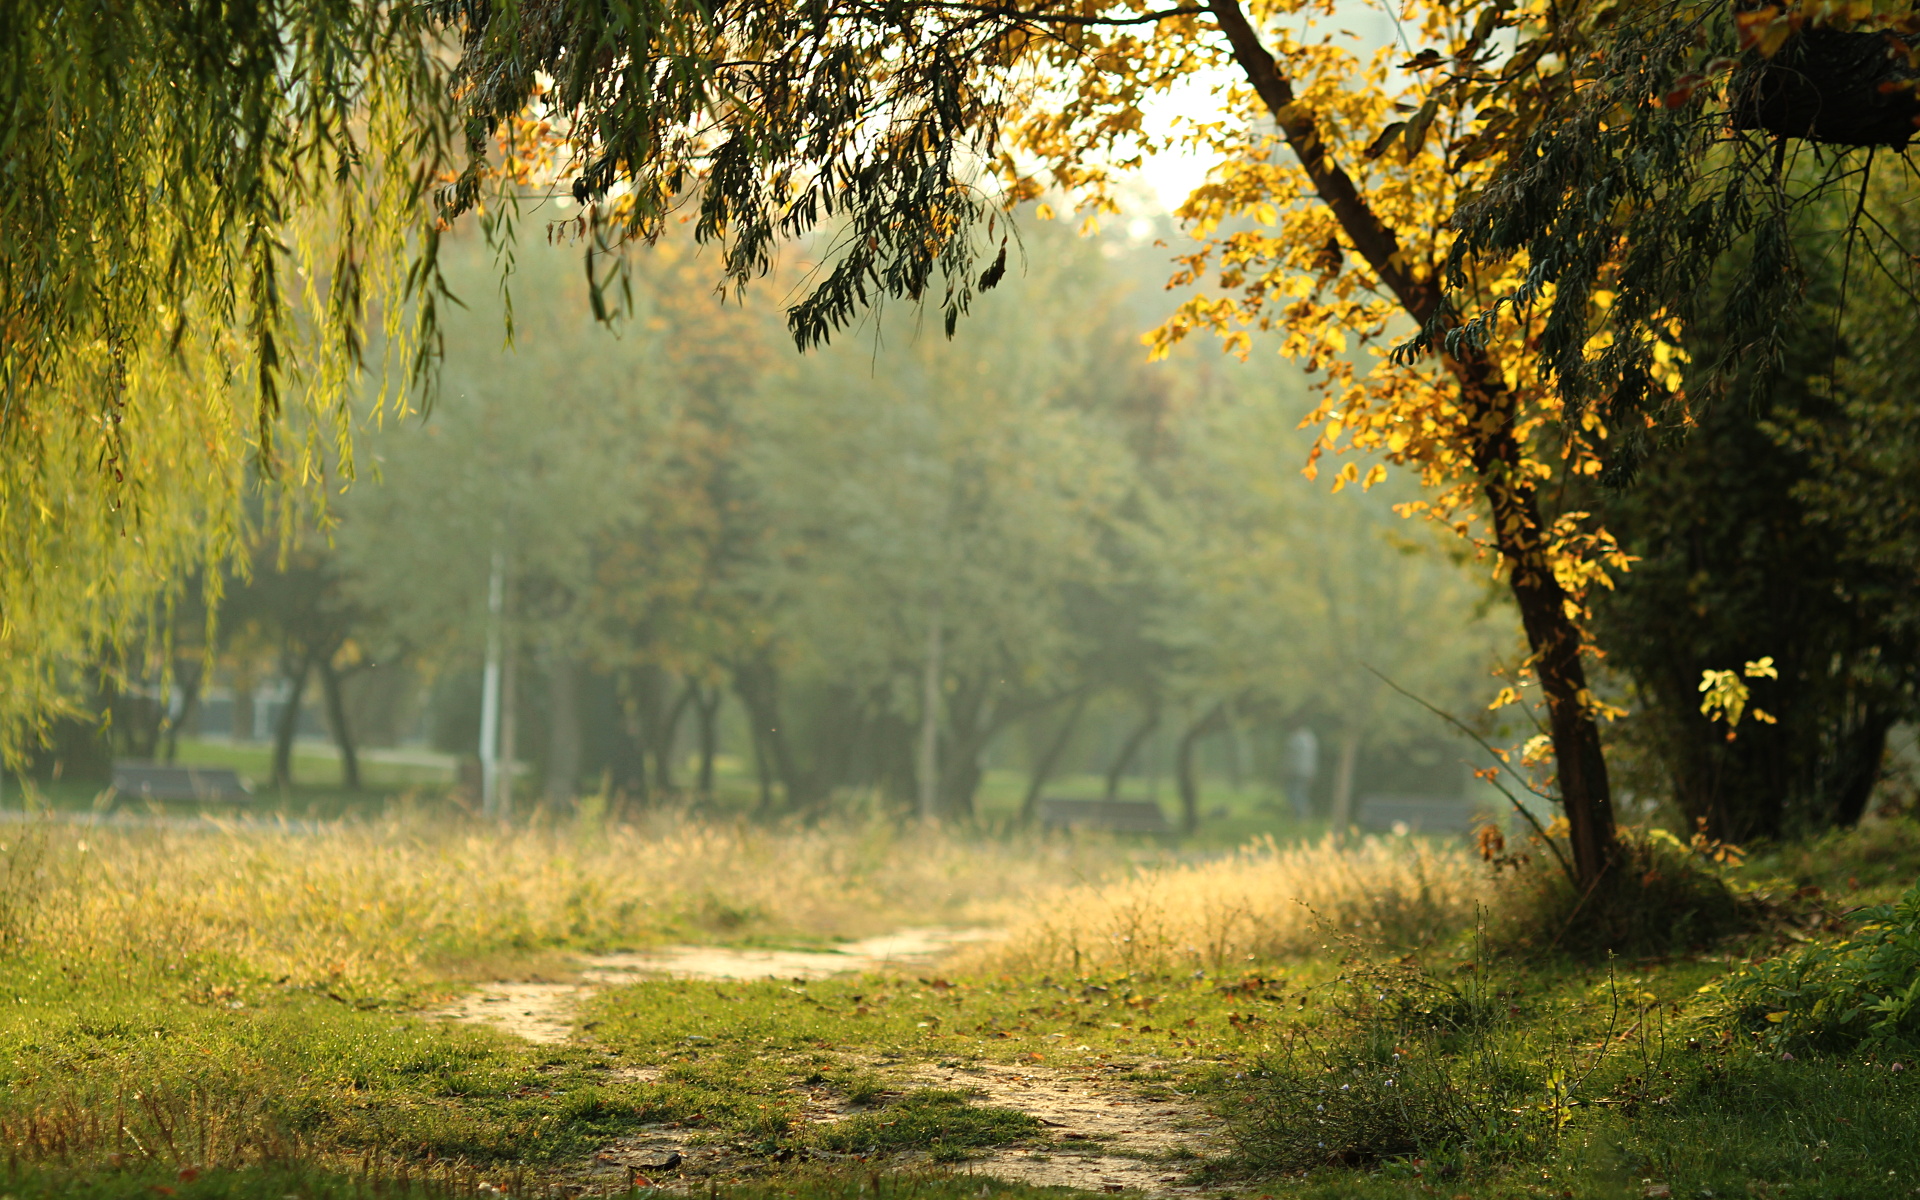
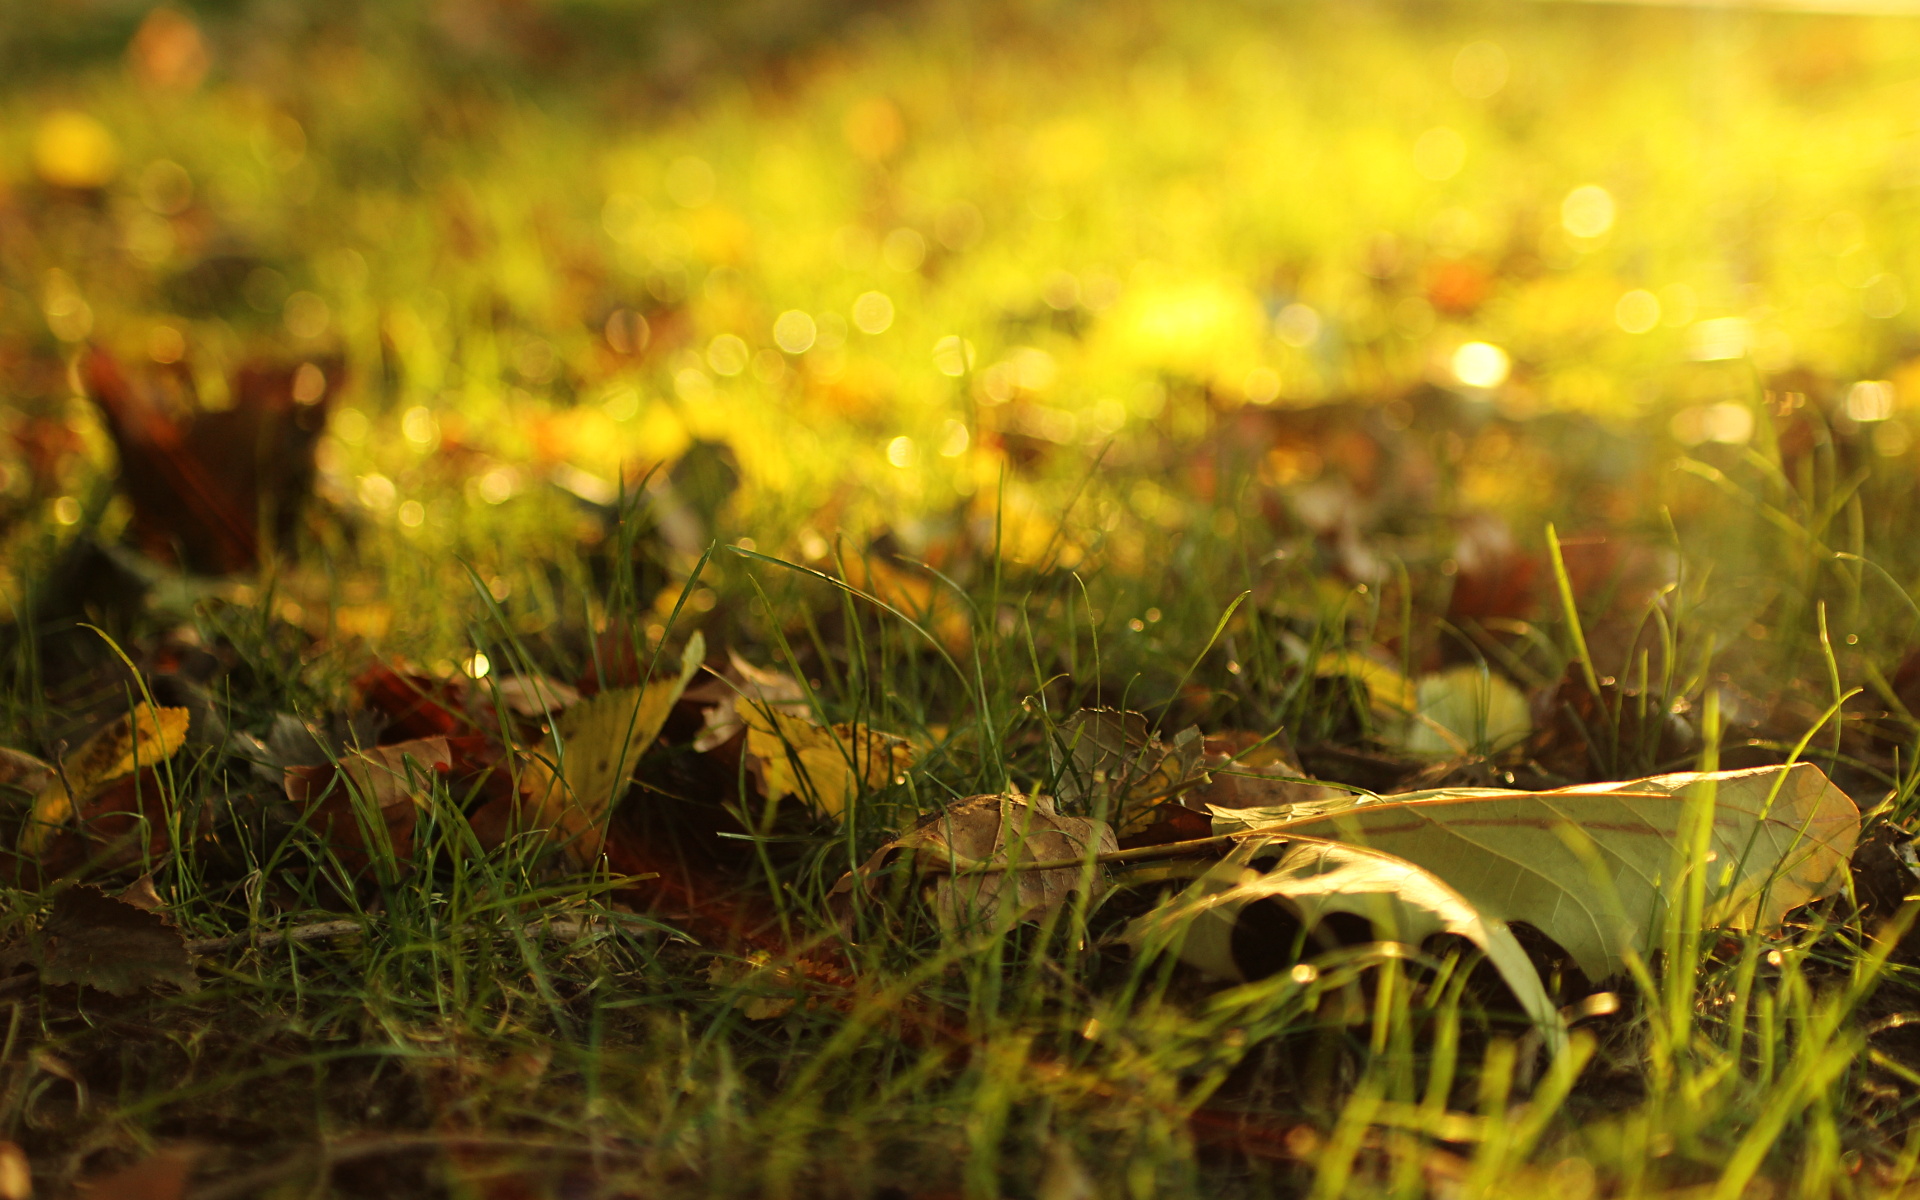
It's the season for autumn themed wallpaper backgrounds to bring their warm colors to a desktop nearby, so here are a few of my recent pictures which may fit the bill (freely licensed as CC-BY-SA, of course):

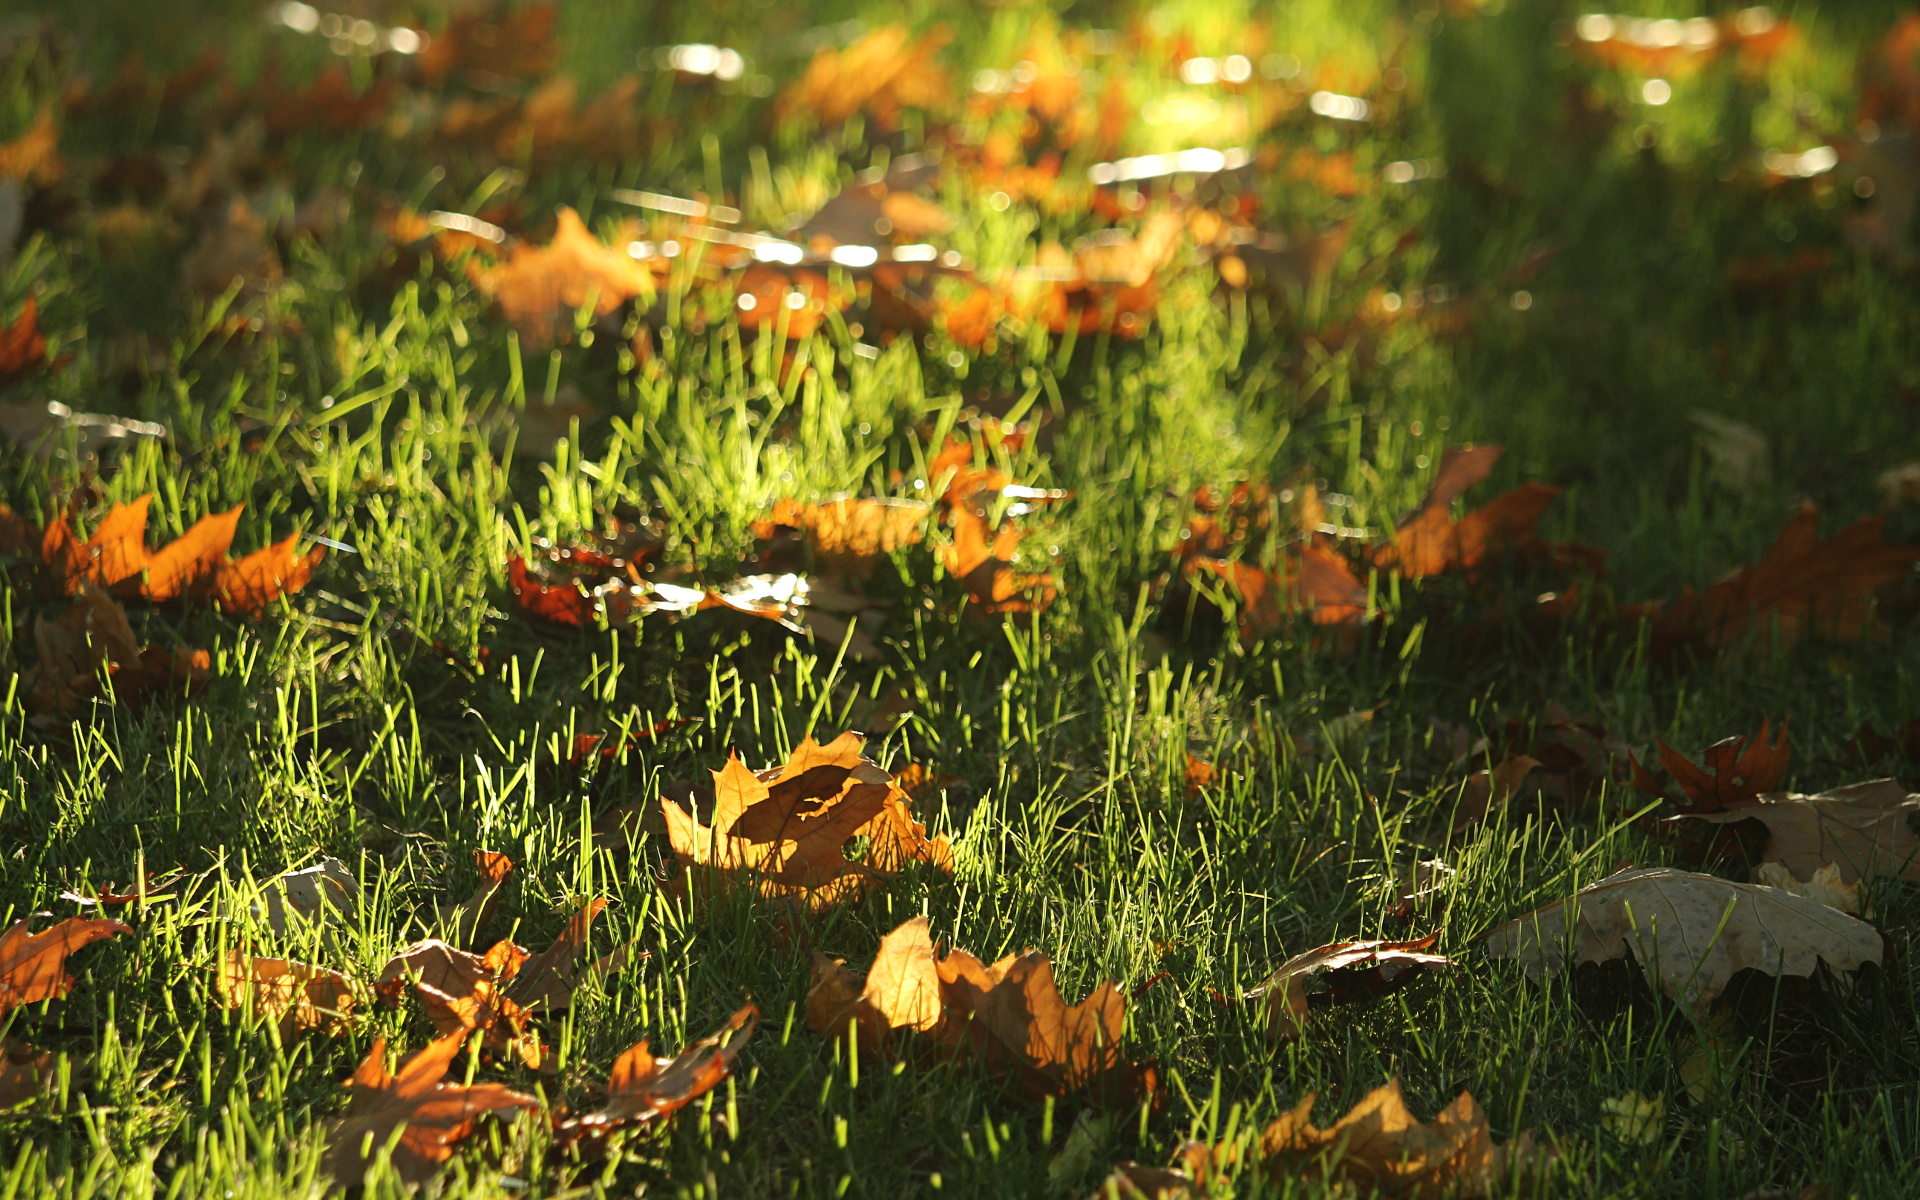
autumn wallpaper
autumn wallpaper
autumn wallpaper
autumn wallpaper

And a bonus one for the braves to laugh in the face of a vertigo-inducting image:
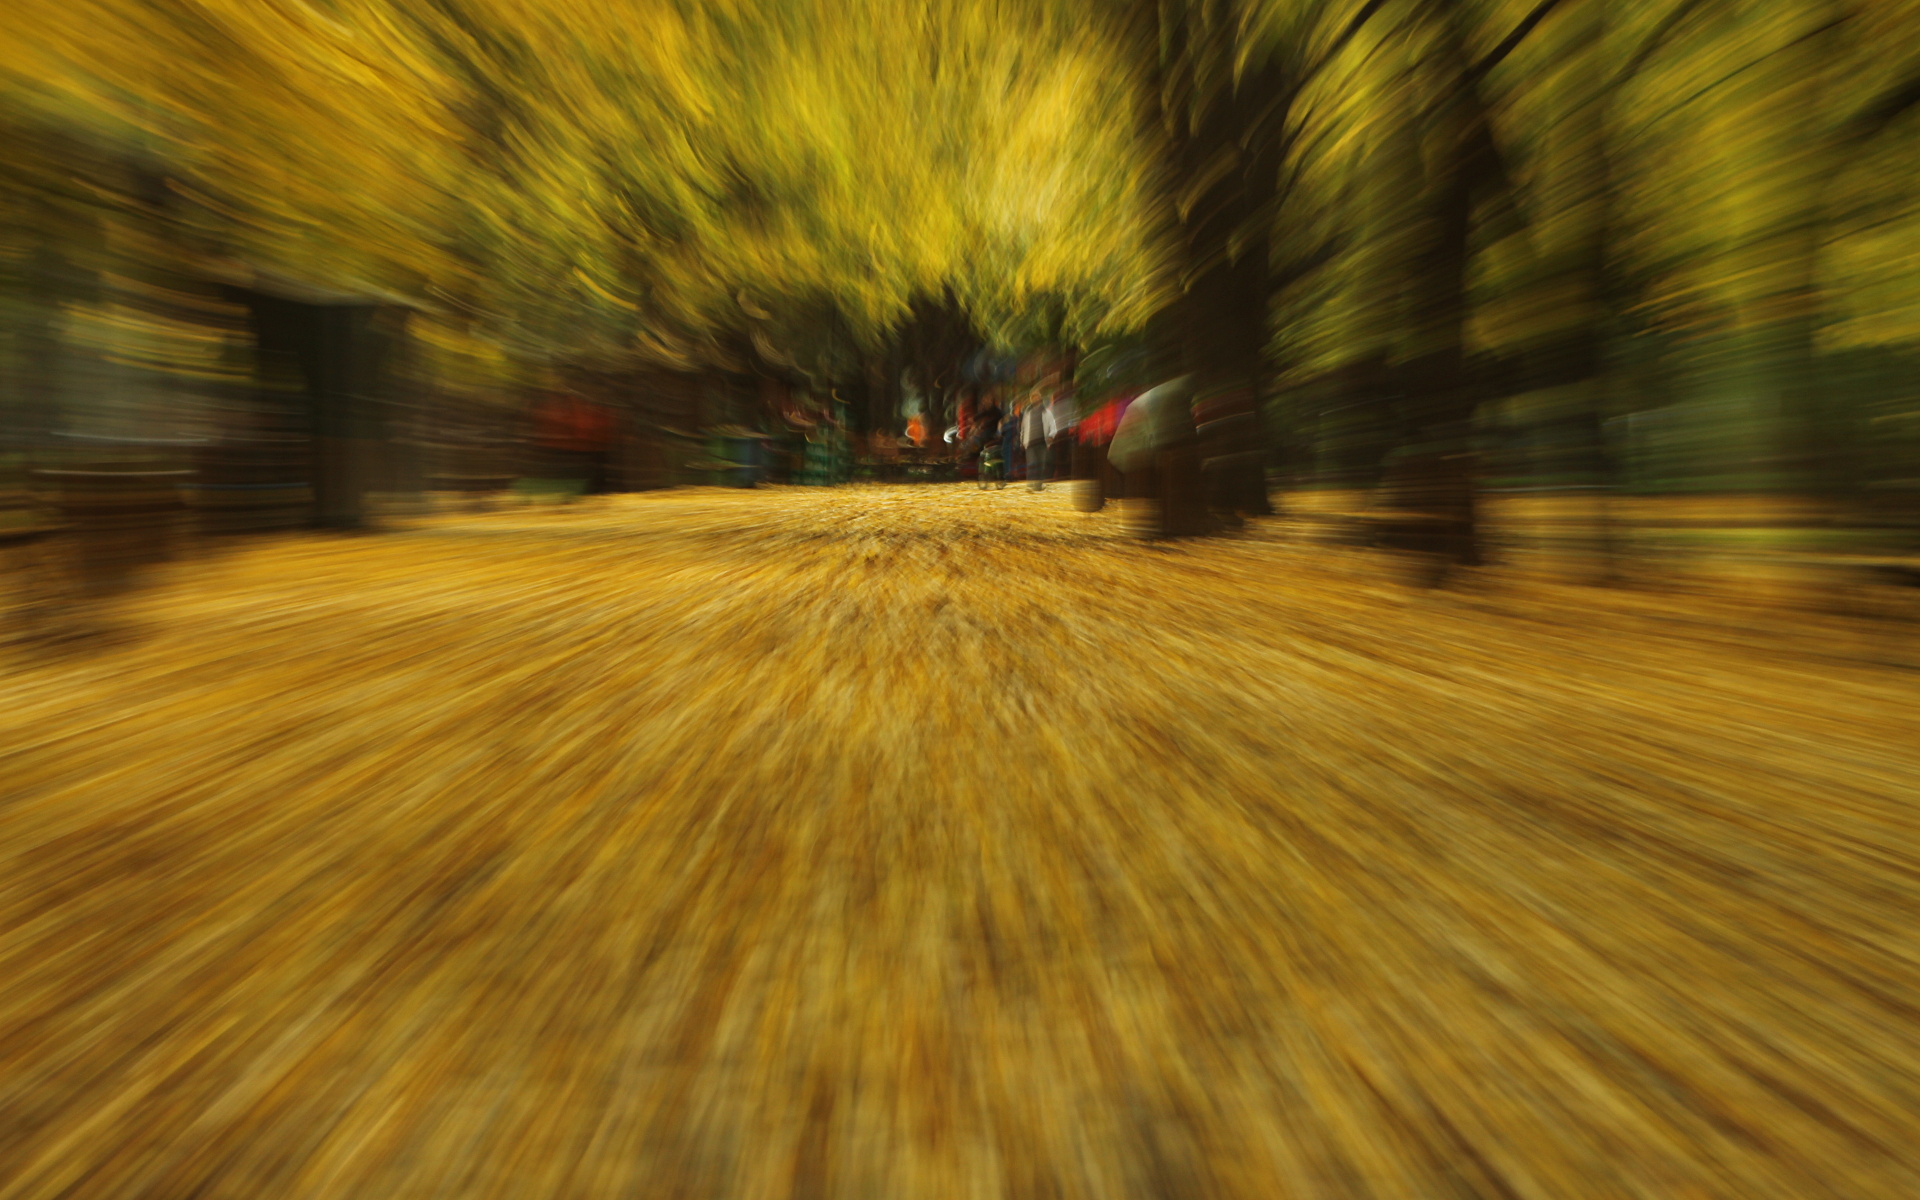
autumn wallpaper

21 October 2013

Hackathon

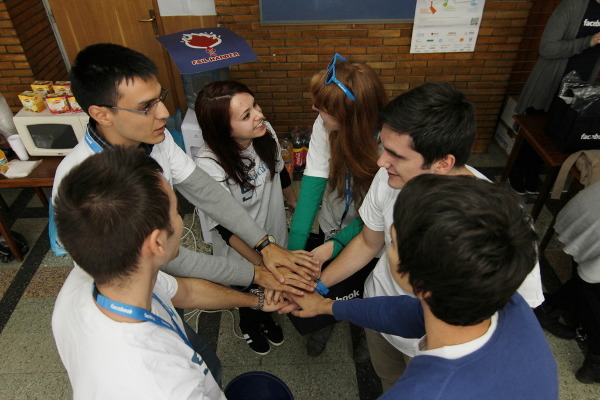
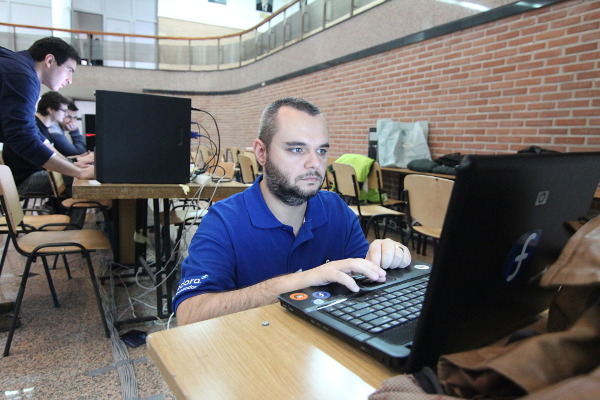
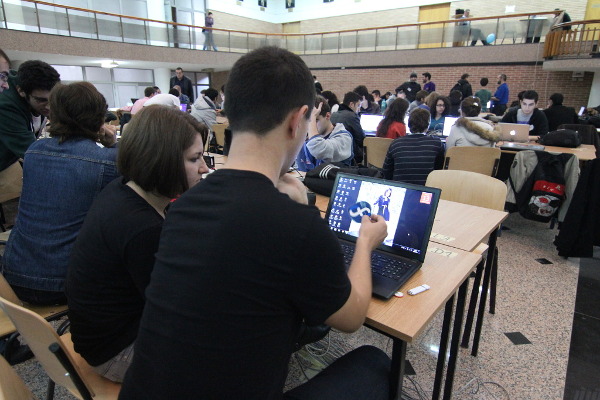
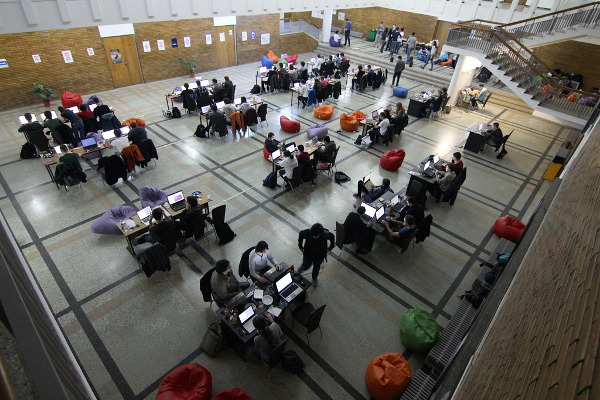
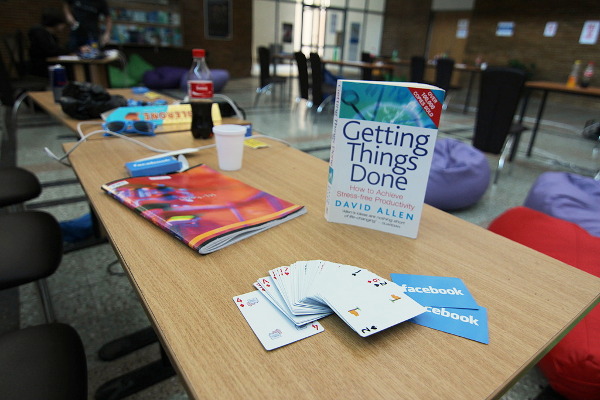
I may not be thrilled advertising Facebook, but they do were the sponsor of a big hackathon organized by ROSEdu last week-end at Politehnica University in Bucharest. For about 24 hours 15 teams of 2 to 4 hackers coded on various projects for fun, glory, learning and prizes. They were assisted by a bunch of ROSEdu volunteers and some Facebook engineers from London and Dublin. The goal was for each team to have at the end of the coding day a piece of software ready to ship.
hackathon
Unfortunately, not everything was perfect: after many successful events, this time the weakest link was the University, which kind of screwed a big multinational sponsor, an enthusiastic NGO and a lot of volunteers when the power went off for several hours. Of course, the internet connection was down too, so the organizers had to sent the teams to work from home for this interval. And this was not all: the University rented some rooms on Saturday for some exams at the Fiscal Administration, so due to that the hackathon had to be cut 2 hours.
hackathon
The teams were diverse: most of them were university students, but there was a team with all its members being high schoolers and there was an all-girls team. Hackers were running an assortment of systems: Linux, Windows, OS X. In my empirical observation (I didn't count), Linux was a plurality and as distros I noticed Mint, Ubuntu, Fedora, Debian, Gentoo. Projects targeted Android, iOS, the web or a combinations of those and were developed with a lot of mixed technologies, I saw Java, PHP, Node.js, ObjectiveC, Ruby and more.
hackathon
The power was still down at the finale, so instead of presentations on the big screen for everyone to see, the jury had to move to each table and watch presentation made on laptop batteries and mobile data connections. Less than ideal, but in the end they managed to get the job done. I followed the jury and learned more about every project: some were warm-fuzzy feel-good about recycling, some may seem useful for students newly arrived in the big city and trying to figure its transportation system and other really creepy from a privacy point of view, but all of them had or "planned" to have some "notify your friends" or "see shit your friends do" features to palate the sponsor.
hackathon

PS: incidentally, the winning team was the one who asked at some point the roaming photographer for some ideas on their interface design :)

13 October 2013

On Linux Install Fest 2013

linux install fest
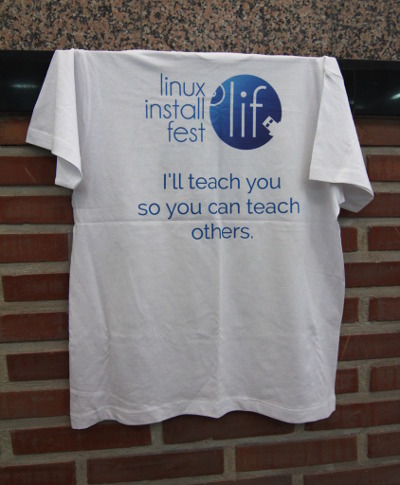
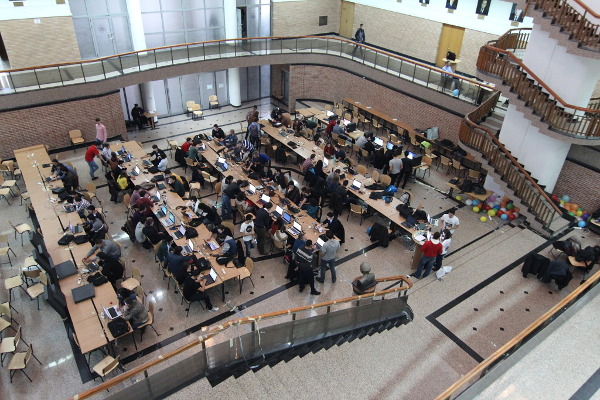
Today was that time of the year again when ROSEdu organized the traditional Linux Install Fest. I managed to be there only a couple of hours, enough to get a grasp of the event and do a few things.
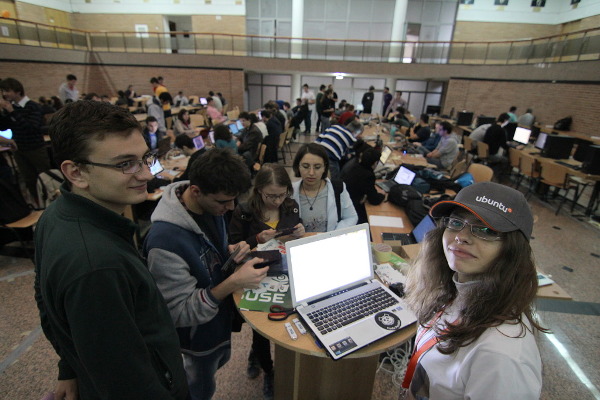
Being a Sunday, there were no electrician available at the university, so the light was less than perfect. Not a problem for the hackers but a challenge for the photographer.
linux install fest
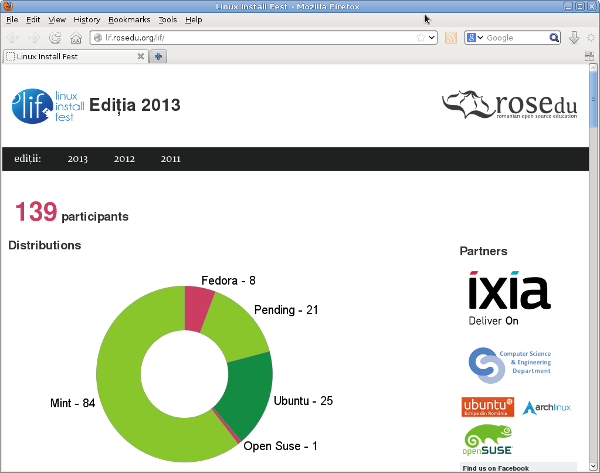
The event surpassed in size the previous year, with an increase from 118 to to 139 participants (preliminary data).
linux install fest
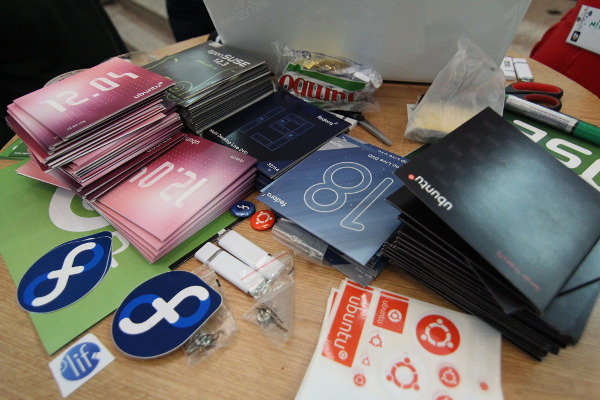
Also, compared with the previous year, the Fedora presence increased: thanks to Iosif who sent me a package just in time, I had enough Fedora 19 DVDs to cover the event and some handy stickers. Gabriel also joined, armed with a bunch of Fedora 18 DVDs and more swag he saved from a past event this winter. And actually there were some people installing Fedora!
linux install fest
Looking at the numbers some changes are noticeable: after the last years most of the installs were Ubuntu, closely followed by Debian, this year the situation is dramatically different: no Debian install registered, the most installs are MINT with Ubuntu in a distant second place.
There are some possible explanations:
  • the Ubuntu install discs arrived 1 hour late, so early in the morning the girl at the registration desk had to reply to Unbuntu inquiries: "don't you want Mint instead? it comes in both 32 and 64 bit versions";
  • the computers in the university lab moved from Ubuntu to Mint to get away from Unity;
  • Mint was available on USB sticks, which AFAIK were for the students to keep, while the other distros were available on optical media (also for the students to keep).
From my point of view, there is also noticeable the Fedora increase: from zero to 8 students this year. Worth mentioning, almost all of them happened early in the morning (in the first hour).

Enjoy below a few more pictures from the install fest:
linux install fest
linux install fest
linux install fest

10 October 2013

Ready for carving?

Today I felt like drawing some clipart images, now is the time to share

pumpkins
PS: this post may not display correctly on bad browsers

09 October 2013

Nostalgia

Yesterday evening I was at the university for a meeting when I noticed in a window a HC 85 computer, which was in the 80'ies a Romanian clone of the popular Sinclair ZX Spectrum (at the time, it was state of the art for the local IT industry along with the PDP-11 clones). For me, it was nostalgia: one of its brothers was the first computer I ever put my hands on (as a high school student), it was the first computer I programmed on, it was the first computer I dreamed making games for (in assembly language, no less).
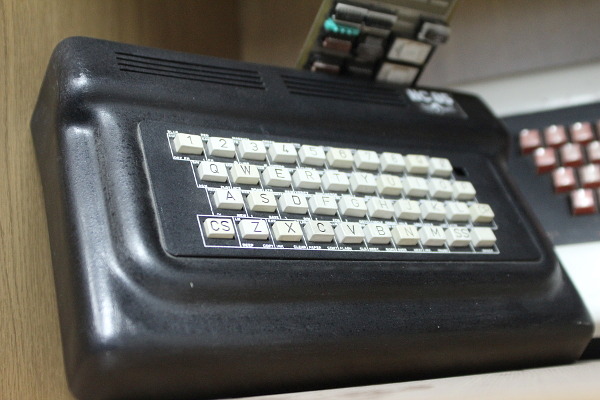
hc 85

Linux Install Fest in Politehnica

This Sunday, October 13, ROSEdu will organize in Universitatea Politehnica Bucharest its yearly Linux Install Fest, the biggest event of such type I am aware of in the country (last year there were 118 participants). Its main purpose is to help first year CS university students putting a Linux install on their systems, but LIF is open to everyone. So if you have troubles with your Linux install, no matter if your machine is a laptop or a desktop, Politehnica is the place to be this Sunday.

linux install fest
Myself, I will try to get there for at least a couple of hours, even if I know from the experience the interest on Fedora and Fedora-based systems is low around there.

On stock images

As a business, when you are in need for some pictures, the cost effective solution is to use stock image services, that's definitely less expensive than custom work, you won't get something exclusive but chances are it will be good enough and cheap beats all (of course, I didn't consider the too often encountered case of scumbags simply picking images from the internet and when questioned answering "it was on Google, is free").

Having some recent photos that may fit the bill, I uploaded one of them on a stock images website as an experiment. For the experiment purpose, I also uploaded an illustration (nothing spectacular, just a collage from my already free clipart images). A first finding was a confirmation of what I already knew: while saturated with photos, they are more actively looking for illustrations. Uploaded at the same time, the illustration is already live on the site, while the photo still have an estimated 120 hours until review by an editor.

But my point here is not about photos versus illustrations, is about what they do with your images. The procedure for an illustration is to upload a JPEG preview and after approval you can add another format, AI, PNG, CDR or EPS (yes, you read it correctly, PNG is in there). Since I use Inkscape, my sources are in SVG and some features can't be exported in their supported formats, so I had to go with PNG. Still no major problem. But look at the image below, is a capture from their website:
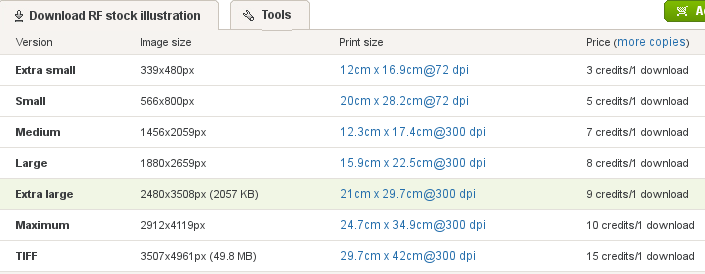
stock images

Allow me a moment to explain: I uploaded at first a 2480x3508px JPEG and later a 2480x3508px PNG. While I am not sure all those resolutions are generated from the JPEG or PNG, I am sure about the image size. So the "premium" TIFF version, costing 50% more than the next one is just an upscale version (from 2480x3508px to 3507x4961px) of a raster image! Wasted money! There is also a "maximum" option, with a slightly higher price over my original size, which is an odd upscale (from 2480x3508px to 2912x4119px) of the raster original.
I think this is an useful hint for the potential buyers: on stock image services, maximum price or maximum resolution may not mean maximum quality.

30 September 2013

G+ and RAW photos from the eyes of a FOSS photographer

I use GIMP for almost all my photography editing by choice, so when reading today a couple of articles about the new RAW photo editing capabilities in Google Plus and how those put Google in a fight with Adobe, as its only worthy competitor, I noticed in both a similar (your probably know how those articles are usually written) expression, along the lines of "don't mention GIMP, while nice it doesn't count". I knew about the RAW import for a few days, but it was not news for me, I don't plan to move my photography storage and editing to the cloud, but now the GIMP comparison made me genuinely curious what is it about.

So away we go! I have handy some RAWs from a recent shooting, it was a matter of uploading one and doing a few clicks, right? Not so fast! The first try, the first FAIL: while the RAW image uploaded properly and it was shown correctly as a JPEG in browser, editing does not work with Firefox, Chrome is needed.
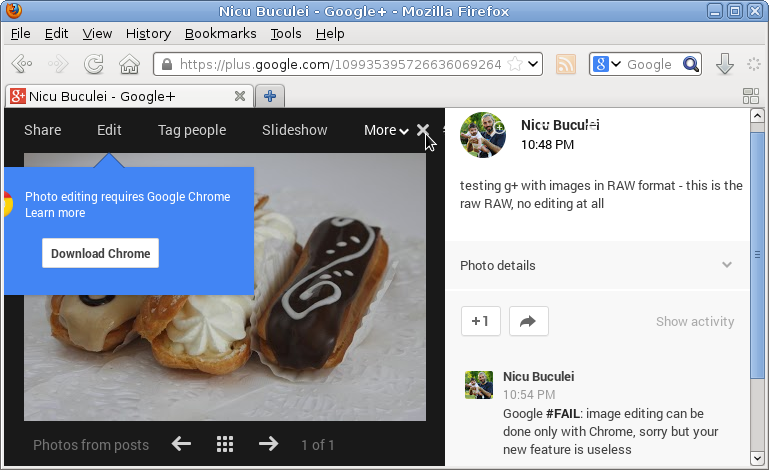
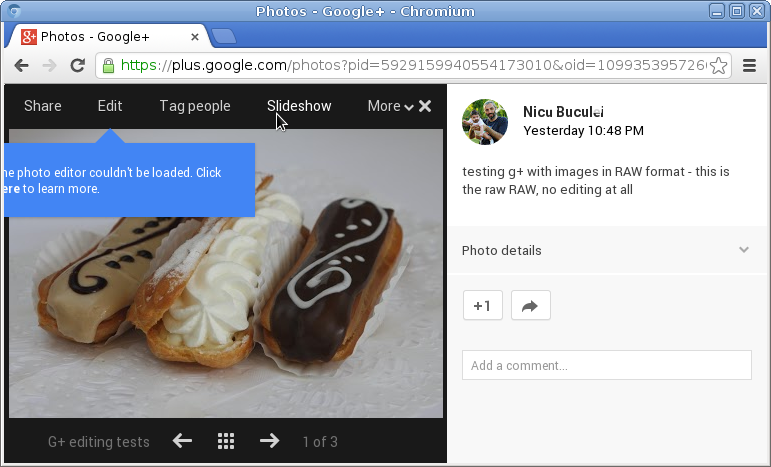
google plus raw photos
Normally at this step I would give up, I won't change browsers any time soon, but it caught me in the proper mood for that, so I downloaded Chromium. No luck either, this time for an undisclosed reason. No luck with Chrome either. It should be because I am running Linux or they don't like my video driver (according to the troubleshooting page on G+). Clearly, they don't want me as a user.
google plus raw photos
I was so close to call it a failure and make a funny gesture towards Google... but I was already mounted, gave it another try, this time with Chrome under Windows, fully proprietary. Of course it worked. I can write a bit more than two paragraphs cursing Google for their useless effort.

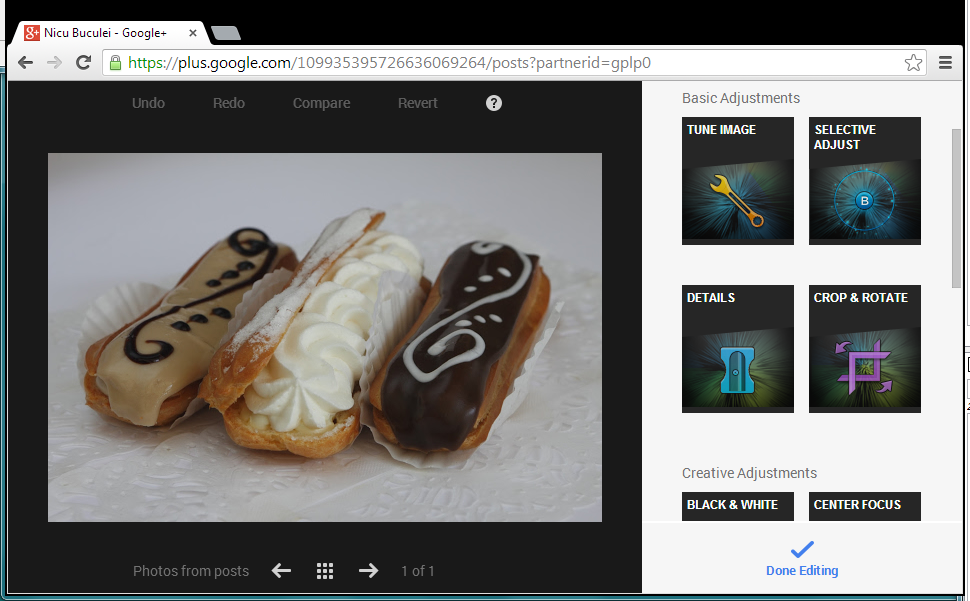
At the first look, it is a simple interface: next to your picture there are some buttons for various adjustment operations, grouped in two categories "basic" and "Creative" (as you will see later, "Creative" is just a feel-good name, there is little creativity in applying a series of predefined filters).
google plus raw photos

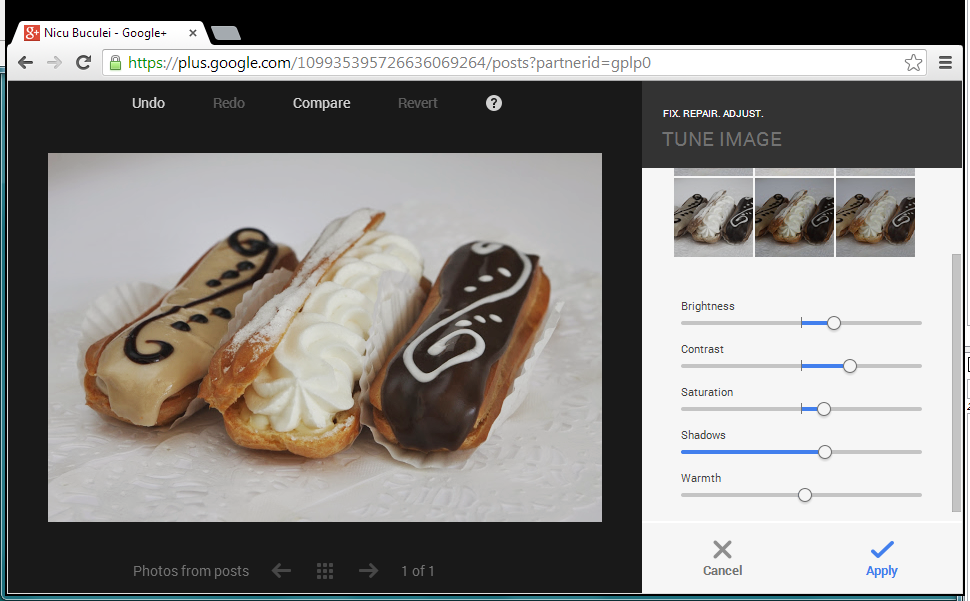
In the "basic" area are some tools which are a must for any image to be published: tune image is doing exposure/color adjustments, details is for sharpening and crop & rotate to correct image framing. Everything with an easy to use interface.
google plus raw photos
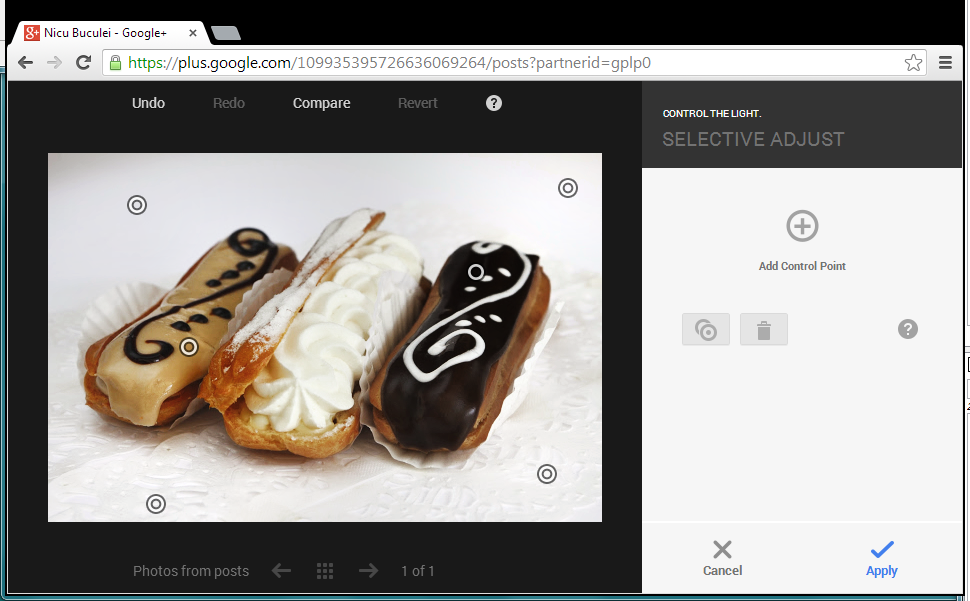
Still under the "basic" category, there is a not so basic feature: selective adjust. I found it cute and original (still, no match for selective adjustment from a proper image editing software), you drop adjustments points in the image and tune it around them.
google plus raw photos
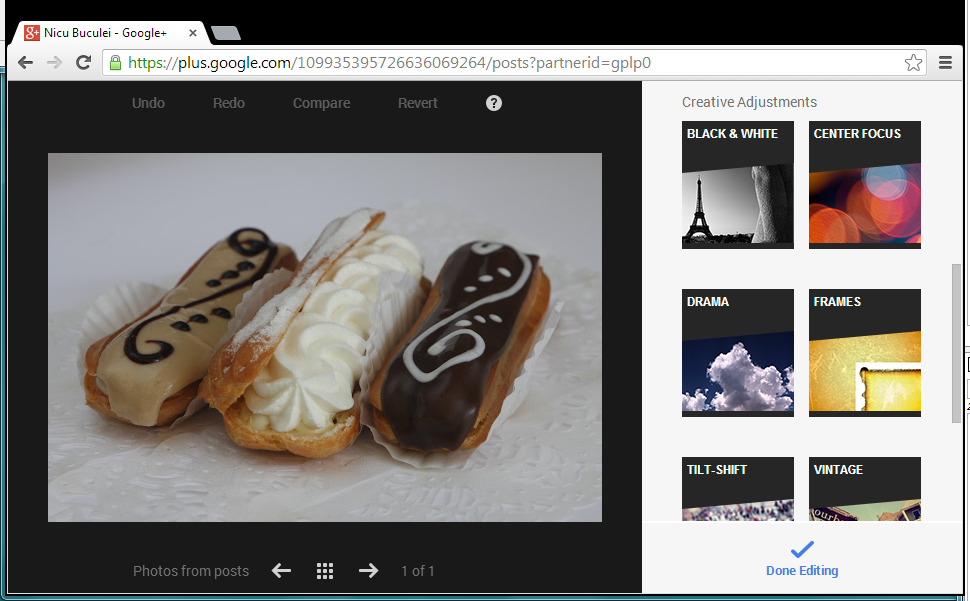
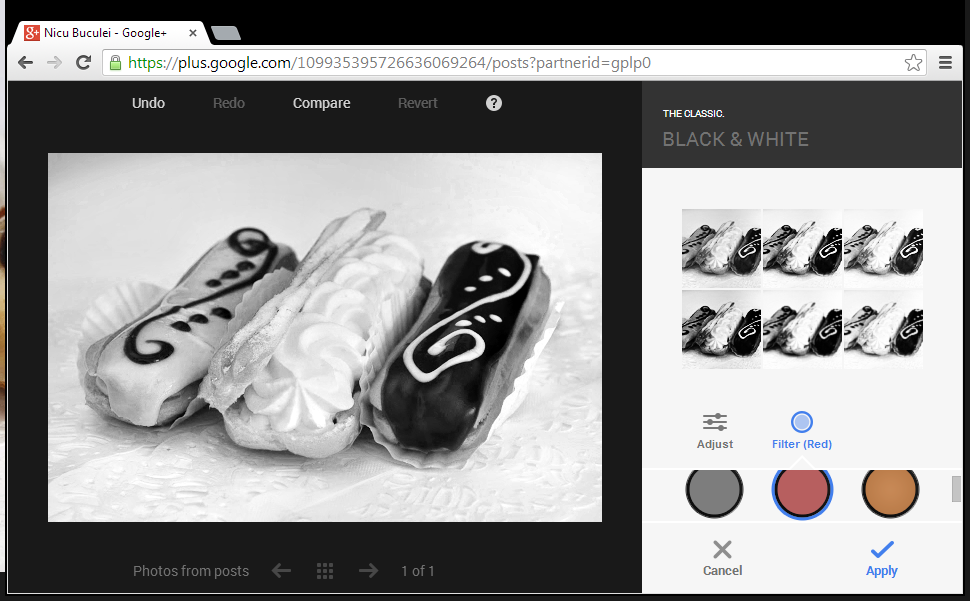
In the "creative" category a first tool is black and white conversion (in my opinion, also the single really useful from the category). It is simple still powerful, allowing to adjust the conversion based on specific colors and fine-tune it.
google plus raw photos
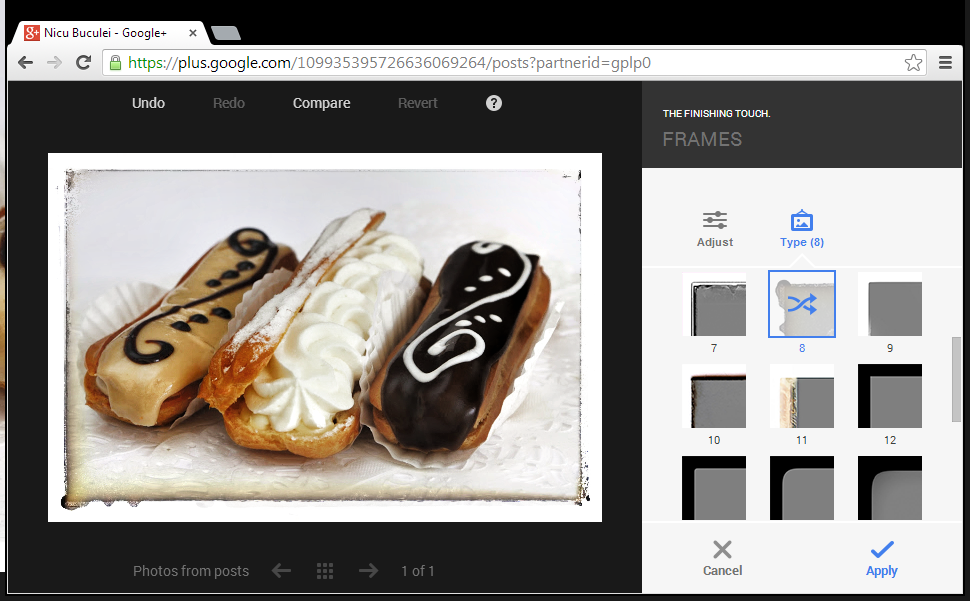
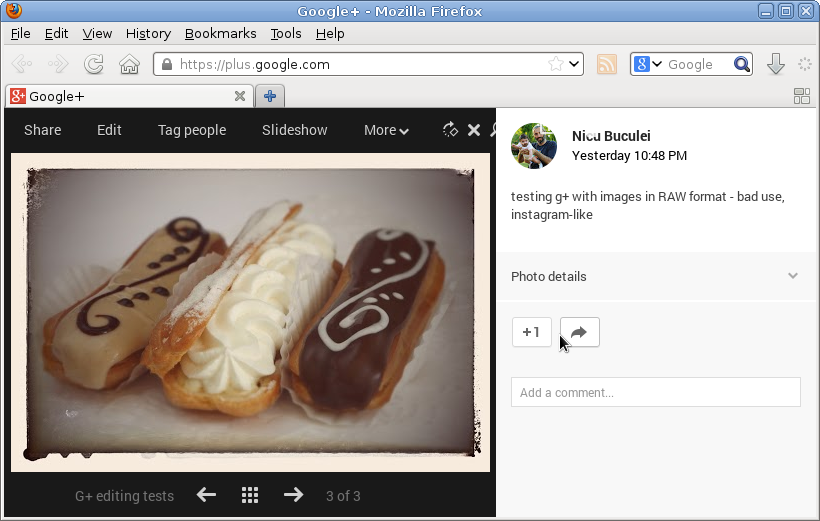
If about "drama" and "center focus" I am quite neutral (I can see how they may be useful for some, but with a lot of fine-tuning to prevent excess), starting with "frames" I heard a shout in my head "Instagram!". We are on the edge of the bad taste realm. Use everything with extra-care.
google plus raw photos
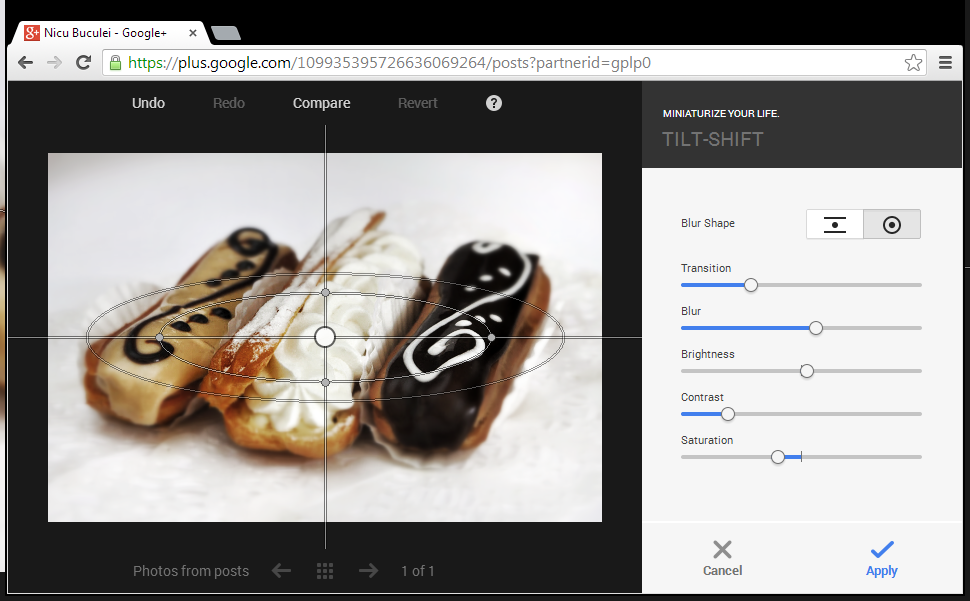
"Tilt-shift" is again some cute toy you use on your pictures and pretend it was made with a dedicated lens. The interface is simple and effective, the final result not so much.
google plus raw photos
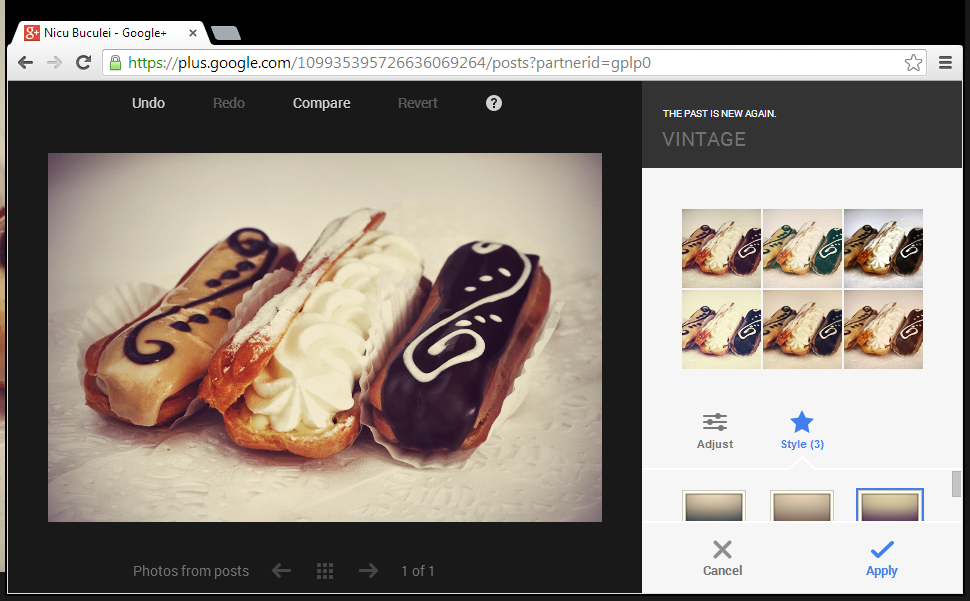
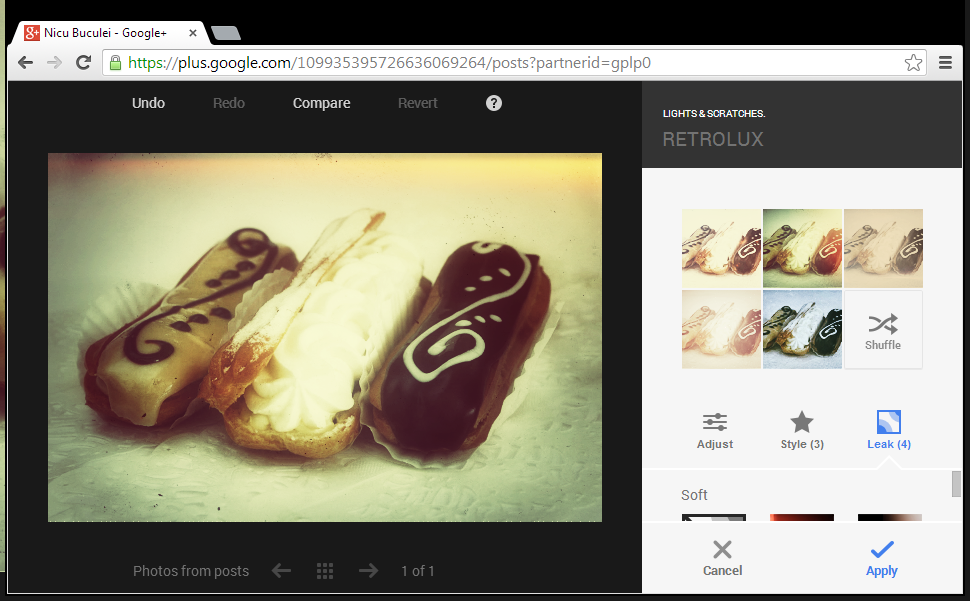
"Vintage" and "retrolux" will damage your picture, but they are the wet dream of the ordinary Instagram user, will make the image hip, damaged but hip. Do not use.
google plus raw photos

As a conclusion, I can say this is no threat to Photoshop and will not replace it ever, is no treat to GIMP either, even it will be more used than probably any of them, is a tool with a different purpose, for a different audience. It may be some competition for tools like Lightroom and Darktable, when they are used for simple "RAW development", but only for simple use cases (no perspective correction? no noise removal? indeed, simple cases). Talking about real competition, it is real competition for Instagram/Facebook, but this probably makes for less sensationalist titles.
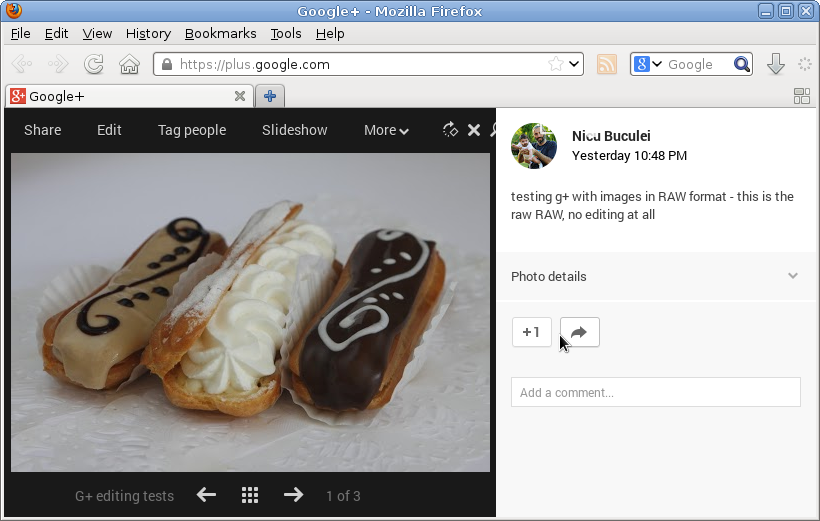
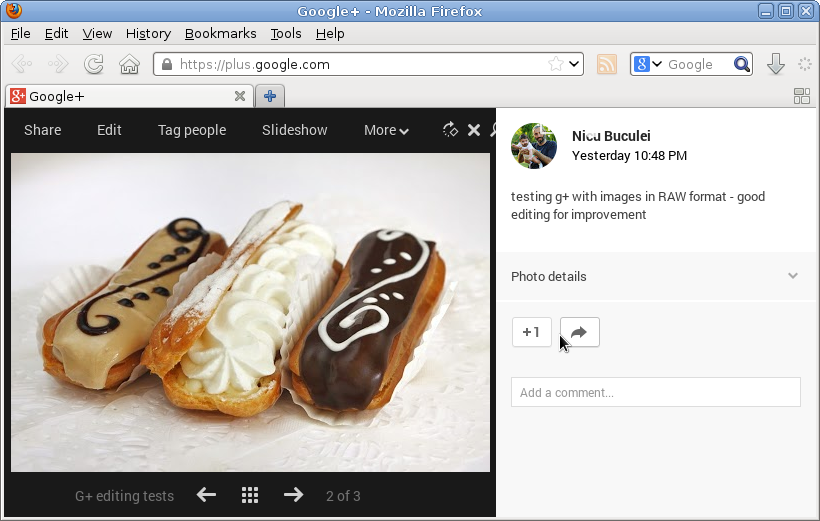
I will end my conclusion with a RAW image, first in its initial unedited state and with what I consider good and bad editing.
google plus raw photos

19 September 2013

A kind of low-hanging fruits

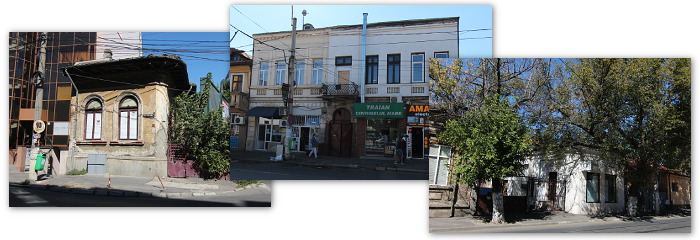
Last year I traveled quite a bit, so when Wiki Loves Monuments came, I was prepared with a sizable pack of pictures ready to upload to Wikipedia (IIRC, close to 10% from all Romanian uploads). This year my mobility was greatly reduced so the contest found me unprepared, with practically no picture ready to upload, which can't be: if I can contribute myself, how can I tell others to do?
Long story short, the best strategy was to attack low-hanging fruits: looking at the list of monuments in Bucharest I noticed some areas with many buildings marked as historical monuments but having no photos at Commons, so for today (well, yesterday, is already past midnight) I selected two streets for a personal photo walk.
Net results? in ~2.5 hours, ~150 pictures, which I am still uploading. I jumped as one of the top 5 Romanian contributors. Not bad for low-hanging fruits. If the stars will align, maybe next week will get the time for one or two more such walks.
wiki loves monuments
There is another benefit of such strategy: as one can see in the picture above, those buildings are not sexy, is not expected to win any photography prize with pictures of them, so they are not likely targets for people aiming for prizes (big drawback of Wiki Loves Monuments being presented as a contest.) Good thing there are some of us (organizers, jury) not running for prizes: the grunt work has to be done.

19 August 2013

How NOT to organize a FOSS workshop

This "Open Source" organization did a lot of cool projects along the time, I participated myself in a few and reported positively about them, one such project was a summer program with many workshops (mostly about development) at a local university. So I gladly accepted when I was invited as a guest at the 'graphics design and editing' workshop, which as the title says, it didn't went that smooth...

An emblematic moment was at the workshop's first day start, as part of the warming up, everyone introduced himself and students told why are they there. For the biggest largest group, this reason was "I want to learn Photoshop." At a GIMP workshop.

The trainers, designers with some years of experience, they don't use GIMP or Inkscape, the apps they were to teach, and didn't do it at all in the last few years (they had to research particularities the night before each class). He may hate me for replaying this but one of them told me "I didn't use GIMP from 5 years ago, when I discovered the features Photoshop". So imagine the amazement when I showed any advanced feature introduced in the last two release.

Also, the only mention of the "Open Source" term ("Free Software" would be waaaay too much) was in the day 4 (due to a busy schedule I was able to attend only day 1, 3 and 4) in the form of "so, see, to do such things you can use Open Source software, without paying for expensive apps".

Conclusion? if you want to organize a workshop, then is a bad idea to have both the students and trainers wanting to learn/teach something else than the declared topic and they are forced to stick to that topic. How to do it right? Make it clear what and why, be both alternative and pragmatic at the same time.

Still, there were positive things: the trainers were enthusiastic and really trying to make the students learn something and have fun and I can witness the students having a lot of fun time. Still, from a FOSS point of view (remember, it was a FOSS organization and a summer "Open Source" program) it was a failure: my guesstimate is ZERO of the students kept using the apps learned at the workshop.

13 August 2013

Editing for photowalks

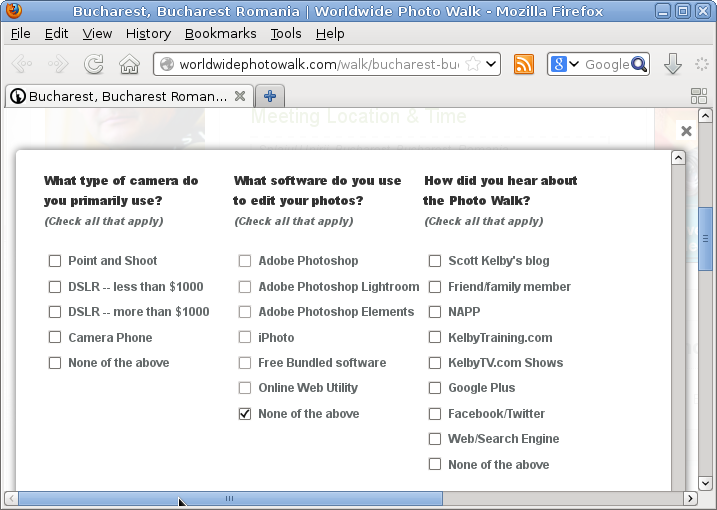
I know Scot Kelby is a well known Photoshop writer trainer and and also evangelist, but he is also a well known photographer and photography writer (Wikipedia says for 2010-2012 he was the #1 best selling photography writer) and the organizer of the popular Worldwide Photo Walk, so I was surprised, but not shocked, when registering to this year's photowalk I saw this question in the registering form:
photowalk no gimp
I answered "None of the above" when asked which software I use to edit photos, as I use mainly GIMP and there is nothing close to it (only Photoshops, iStuff, bundled stuff and online stuff are available choices) as there is no one of the any other FOSS options (darktable, DigiKam, to name a couple). Still, no need to get paranoid, there aren't listed none of the many (and crappy) smaller proprietary editing tools, even if they are used by a lot of people.
I know some of the people participating in the Bucharest photowalk and most of them are in the "None of the above" category (still, they are neither in the "FOSS" category).

06 August 2013

How to become a graphic designer

I graduated University with a diploma in mechanical engineering, after that I switched the field and worked most of the time as a computer engineer, that was my day job. Graphic design was something I did in my spare time and was something I learned by myself, by reading, experimenting, being a part on FOSS projects and so on. And I had a few successes, all while using almost exclusively FOSS software.

Now when I find myself as a freelancer, it made sense to complete my professional background by receiving certification as a graphic designer. How to do that? By taking a recognized professional training for adults. Following is the experience of a FOSS guy going trough a traditional graphic design training.

Honestly, I didn't expect much from such a training, I have some years of experience in the field and I know how to read books, it was important to get an official diploma and the price to be affordable. Looking around, I found a training center fitting my criteria, I won't name it, since I am not in the business of doing advertising, neither positive, not negative.

This training center actually has two graphic design courses, both of them consisting of Adobe Photoshop and Corel Draw, it is quite specific, you rarely learn general principles, but how to use those two specific apps. Why Corel? I talked before a few times about it, won't get into details: the graphic design market in Romania is stuck into a vicious circle: everybody is using Corel Draw because everybody else is using it, while all of them acknowledging is not the best tool. The first course is “basics” and the second is “advanced”, but after any of them one will get exactly the same diploma, with a different annex. My choice is simple: for the advanced course I was unable to answer such questions like “what is the shortcut for operation X in Photoshop” (because I have not used it and have no intention to use it forward), so unlikely to pass the initial test. I went to the basic course. After all, the diploma is the same.

The actual training center  have some ancient desktops, all of them running Windows XP and quite old versions of the required software, for Photoshop it was CS3, while for Corel it was X3, unfortunately, I didn't take the time to investigate their licenses. All I can say, in the very first class the trainer said “do not ask me where you can buy the needed software at home, you are by yourself with this”, however it was expected we will have home newer versions and we were instructed to save backward compatible files. I suspect at least one of my classmates got her home computer infested with a virus from not knowing much about torrenting.

The basic course is 6 weeks long with 2 classes a week, for a total of 12 classes, which are split 8 classes for Photoshop and 4 classes for Corel and a lot of home works. For the final exam, you'll have do build a portfolio with various works, some of them part of the home works, some in addition to them. The class consisted in lecture, where you were expected to take notes (I personally didn't and managed just fine) since there was no useful printed support and practical applications under the trainer's supervision, together with the home works analysis. At its end you are expected to acquire a basic portfolio, which can be used for employment.

As I understand, the advanced course if a bit shorter, only 5 weeks long and more portfolio-oriented, at its end you will have to create a full identity manual for a [fictive] company, going trough many  steps, from logo to website mockup to flyer and more.

Back to the basic course, the Photoshop part covered most of its toolbar and and half of the menu, just before filters, I wonder if the filters are “advanced knowledge” for the second course. Anyway, I took issue with some of the transmitted knowledge, like black and white conversion for images being best made with gradient map (no, is better to use color channels and tune the final result) or the PNG image format being created by Macromedia (no, it was created by W3C), but I tried not to be a problem-student and kept my interventions to a minimum.

The vector graphics part in Corel was expedited faster, as you are supposed to use it for simple graphics. Still, the final project was to be made with it. It was interesting to see most of the students, while at the start being more interested in Photoshop, having more fun with vector graphics. That pretty much replicates my experience with combined GIMP/Inkscape workshops.

The trainer is a nice person but limited by the curriculum, she is one of the person transmitting the information, not the one who assembled it. She honestly recommended me to take the second course, where I may find some things to learn. Still, when she asked which graphic apps I used before and my reply was “Gimp and Inkscape” I got the expected “never heard of those”. For a few of the Corel home works I presented the required Corel-made version and how it can be if Corel supported some basic features I take for granted with Inkscape.

As said above, for the final exam I had to create a number of works:
  • 5 photomanips (change colors, switch heads and such), which I made with GIMP and exported as .PSD;
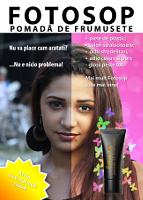
  • 2 original ads and a remake of an existing ad, here I did most of the work also with GIMP, exported as .PSD and imported in Photoshop for final touches and ensuring the file is rendered correctly (sometime it isn't);
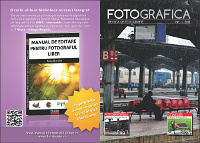
  • 2 book covers (yes, this was to be made as raster, not vector graphics), for which I prepared all the needed elements with GIMP and Inkscape and assembled the final work in Photoshop, I had to do this way since the final result had to be a CMYK .PSD file;
  • a clipart image, which I made it with Inkscape, imported into Corel, corrected some import problems and exported as .CDR;
  • 1 original logo and 2 remakes of existing logos, again I made them with Inkscape and converted the SVG to .CDR from inside Corel;
  • a business card based on the original logo above, really quick task done with Corel in a couple of minutes;
  • a flyer, for which I had to use Corel from the ground-up, it was too complex to clean-up an eventual SVG import and the result was to be a CMYK .CDR. Still, it had to include some photos previously prepared with GIMP and the logo, originating with Inkscape;
  • the final project was to be a small, 6 pages, magazine also in .CDR format. Again, assembled with Corel but including a lot of images originating in GIMP.

The final exam was simple: a theoretical test and the portfolio review. The theory part was, as expected, simple: a quiz with  18 stupid questions, where you were expected to memorize useless (for me) things, like “what is the Photoshop operation to copy a selection into a new layer” or “for which Photoshop tools can be applied a feathered edge” or “which is a correct list of  node types in Corel” or “which is a correct list of operations you can to with the pick tool in Corel”. Still, easy to get 10 from 10 points if you didn't sleep trough the entire course. Reviewing the portfolio was a bit more frustrating, it felt more like they numbered the works, not looking at the amount of skill backing them. An accessible slam dunk.

In conclusion: was it worth it? I think so: I got my diploma, I had the opportunity to see how the competition if faring (last time touched Photoshop more than 10 years ago) and also to see how a recognized graphic design training is structured. And definitely was and incentive to put my lazy ass to work and create some stuff. Would I take the advanced course? No, if I have to pay for it. Now I have on my TODO to think more about how the marked would receive a training course based of FOSS tools.