Box of eyes
After people complained about the big table with eyes as being nauseating, I realized there is a problem and a different presentation should be useful. A bit of head scratching and I remembered the old trick of mapping images to a box with GIMP so I decided to write a short piece about it (you can do it with any type of images).
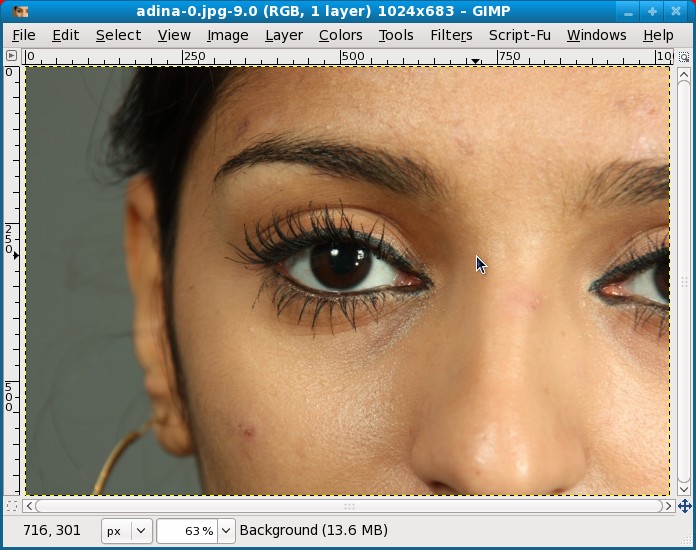
Obviously the first step is to open an image in GIMP:
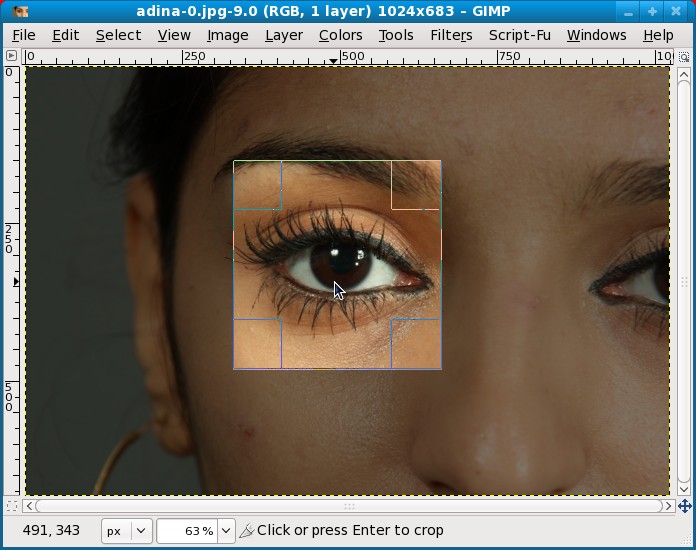
Then make a crop around the part you want to use, here I was interested in a cube with eye images on all its sides, so my crop was a square centered on the eye:
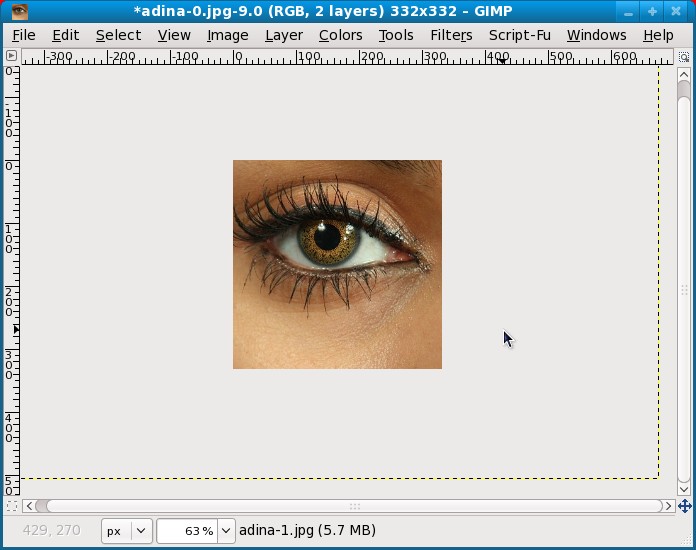
Open the image for a second face (for me a photo with the eye in a different color) as a new layer. The easiest way it to drag and drop the new image over the editing window, but you can also use the menu (File > Open as Layers):
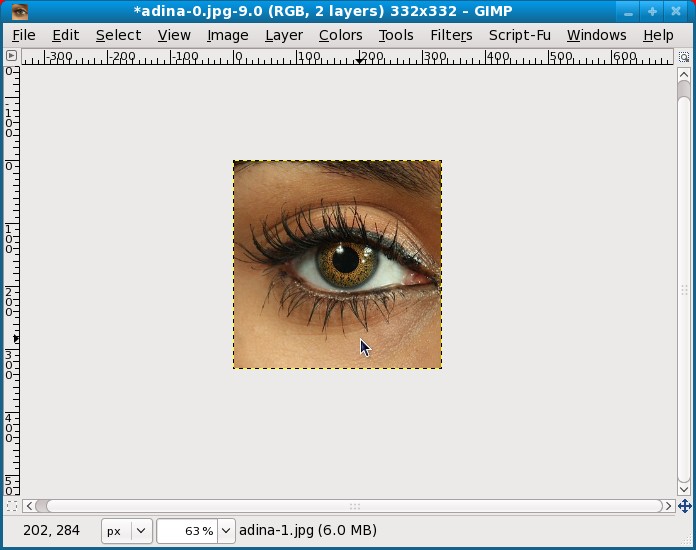
Move the layer so it is properly centered and crop it again (draw freely a big crop box around the image, it will adjust automatically):
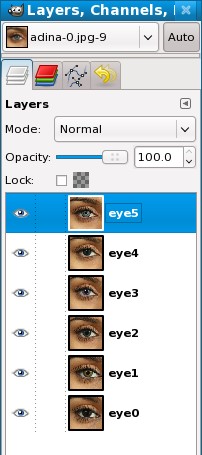
Repeat until you have 6 layers (a cube had 6 faces):
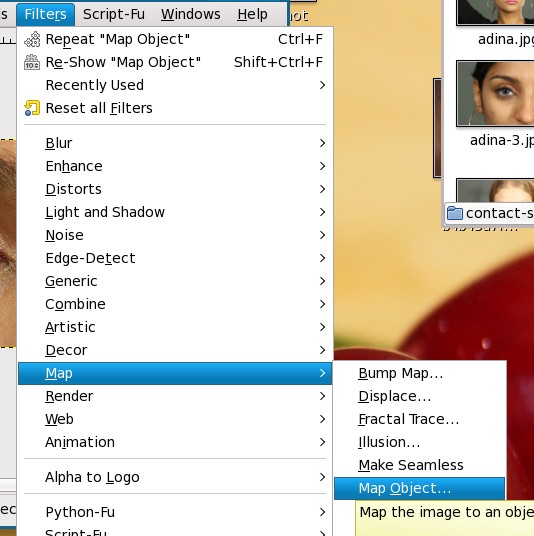
Then go to the Map Object filter (Filters > Map > Map Object):
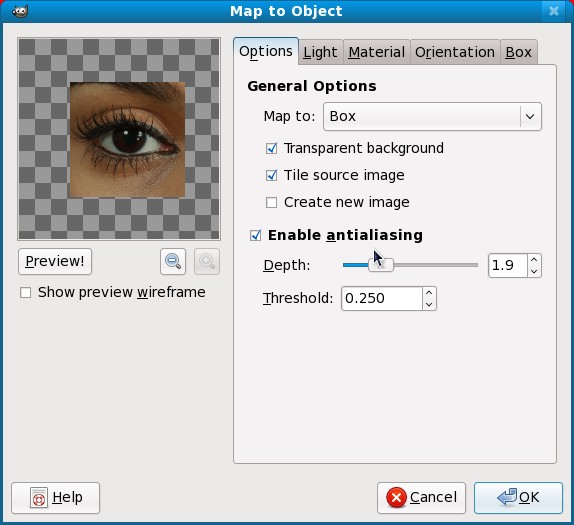
Here in the Options tab set the image to be mapped to a box. Make sure you set the background as transparent:
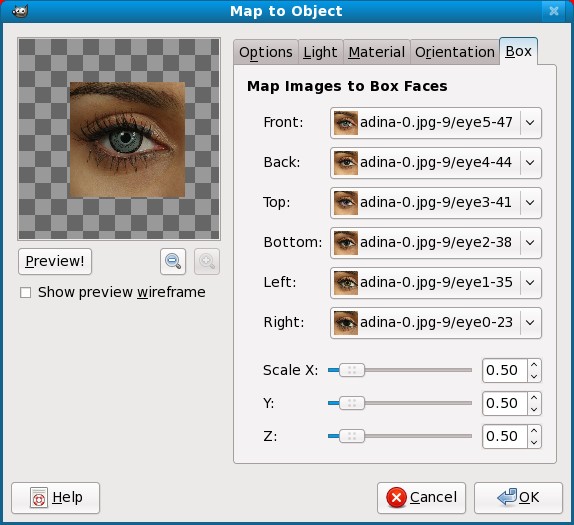
And in the Box tab select the various layers as box faces (if you have less than 6 images/layers, you can repeat some of them):
In the Orientation tab, use the Rotation sliders to have a nice view to you box (preview wireframe is useful) and Position sliders to make sure it is centered:
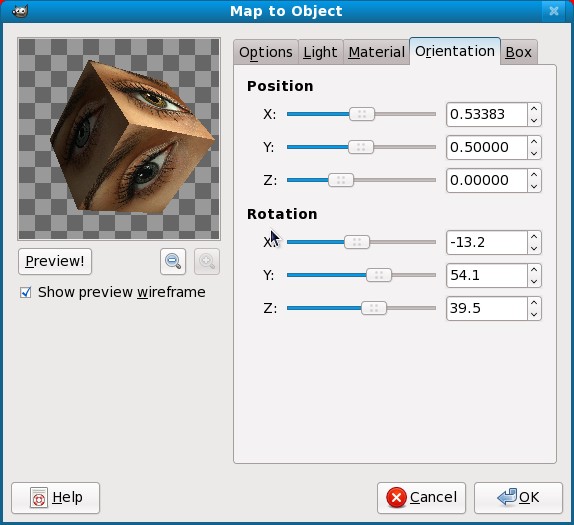
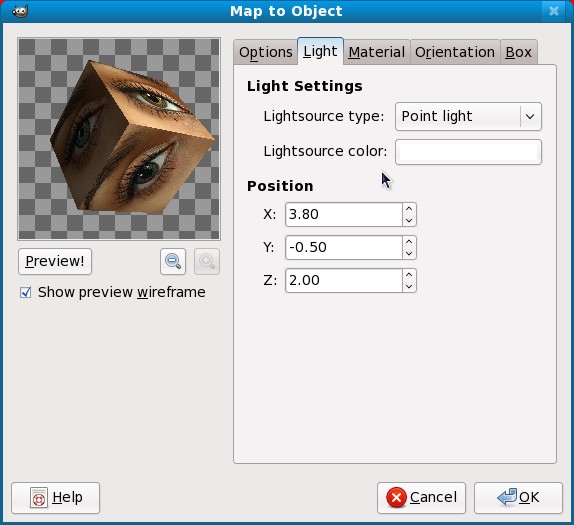
If you want, go to the Light tab and adjust the type, color and position of the light and to the Material tab to adjust the amount of reflected light:
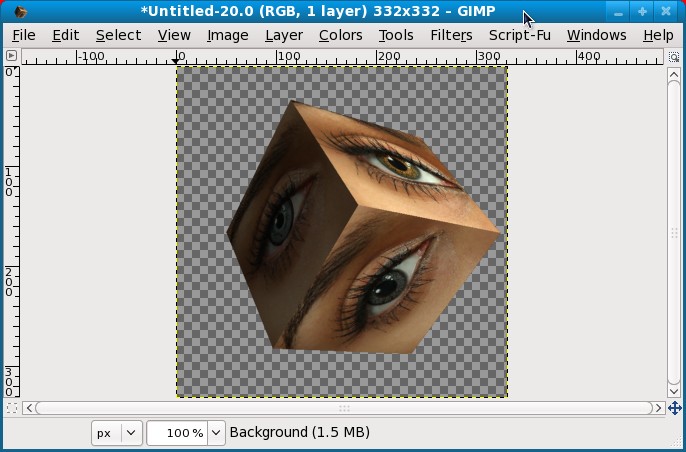
Press OK and you are done, enjoy the result:


Thanks for the tutorial! I hadn't known about the Map Object functionality in GIMP before - these kinds of walkthroughs are extremely useful for closet graphics geeks such as myself who might not otherwise be exposed to the idea of using tools this way, so totally rock on.
ReplyDeleteThere are tons of such less known tricks, probably I should blog more of them.
ReplyDelete